Almost every guide that shows you how to build a Linux home server stops at the exact moment it gets interesting. It boots, you saved a few bucks, congrats, the end. Nobody tells you what it’s like to still be running the thing eleven months later. The night an automatic update breaks your photo sync. The morning a drive dies and you find out your backups were a feeling, not a file. I’ve run my own servers for 20-plus years, including the production box this blog sits on, so that second half is the part I actually want to talk about.
So this is really two guides stitched together. The first half is the build: how to put together a Linux home server for under $200 that streams your media, blocks ads on every device in the house, runs your smart home, and gives you cloud storage you actually own. The second half is the stuff the rest of the internet skips. What it costs to keep that box alive. A backup plan that survives a dead drive. And the honest call on what’s worth self-hosting versus what you should just keep paying somebody else to run.
This one’s for the person in the middle. You’re curious, maybe a little intimidated by Linux, but you’re not scared to open a terminal and type a few commands. You don’t need a rack in the closet. You need one small box, a weekend, and a realistic picture of what living with a Linux home server actually looks like a year in.
Updated June 2026. The pricing, the Ubuntu 26.04 notes, and every mini PC pick below are current as of this summer.
Why Bother Self-Hosting?
Before we spend any money, let’s talk about why you’d want a Linux home server in the first place.
Your data stays yours. When your photos live on Google’s servers, Google’s terms of service dictate what happens to them. When they live on your server, in your house, you’re in control. Period.
It saves real money over time. A Plex Pass is $120/year. iCloud storage, $36/year. A VPN subscription, another $60-100. A decent NAS from Synology runs $300+ before you add drives. A used mini PC running free, open-source alternatives to all of this costs you a one-time $100-150 and maybe $3/month in electricity.
You actually learn something. I’m not going to pretend this is passive. You’ll learn Linux basics, networking fundamentals, Docker, and a bit about security. That knowledge compounds. Every new service you add gets easier than the last one.
It’s genuinely fun. There’s something deeply satisfying about streaming a movie to your TV from a tiny box sitting on your shelf that you set up yourself. Call it nerd pride. Most people who’ve gone down this path describe it as a surprisingly good weekend project. 🖥️
The Hardware: Used Mini PCs Are the Move
Here’s where most guides lose people. They either recommend a $500 custom build or a Raspberry Pi and then gloss over its limitations. I’m going to give you the actual best option for under $200: a used enterprise mini PC.
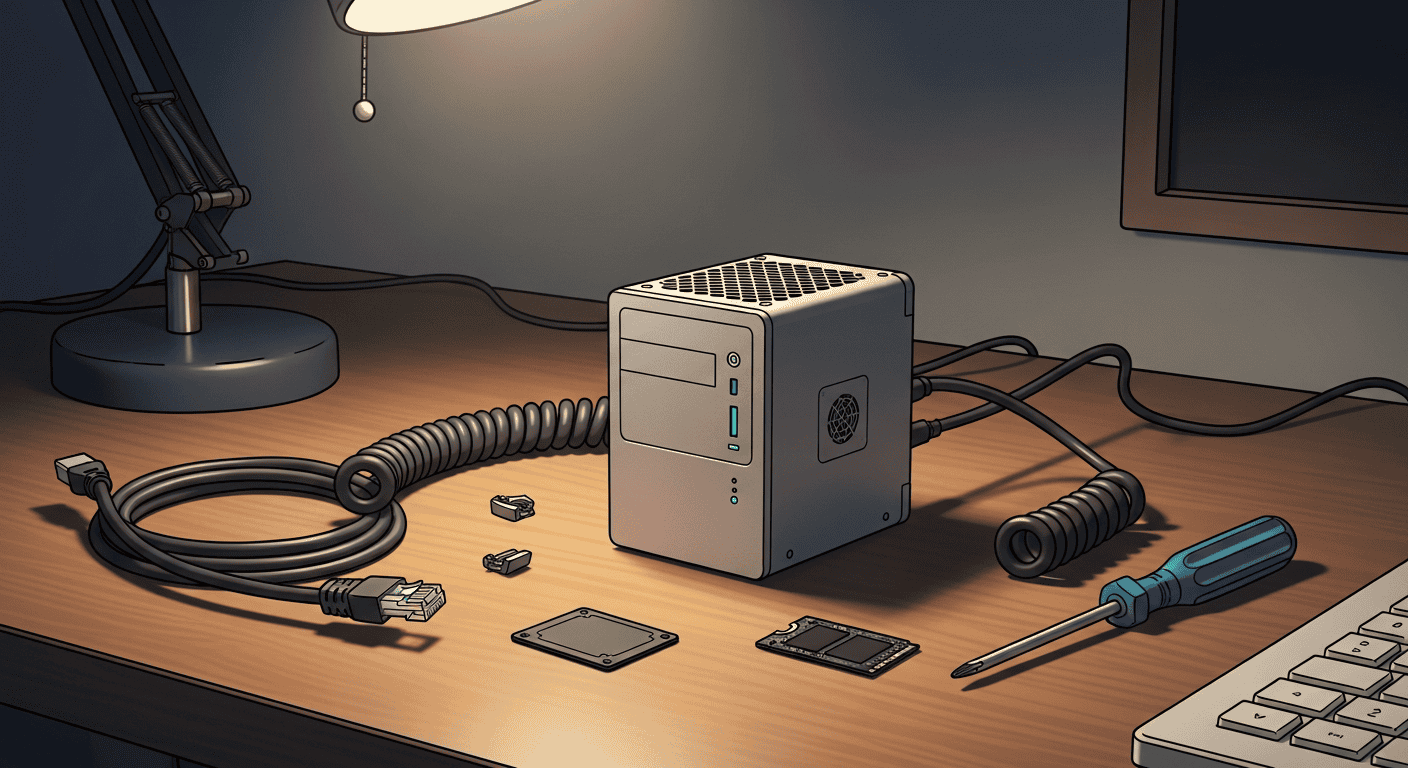
Companies like Dell, Lenovo, and HP cycle through thousands of office desktops every few years. When they do, those machines hit the refurbished market for a fraction of their original price. And these aren’t junky machines. They were built for reliability, quiet operation, and 24/7 uptime. Exactly what you want in a home server.
What to Look For
Here are my top picks, all regularly available on eBay and Amazon for under $200:
Dell OptiPlex 7060/7070 Micro ($80-$160 refurbished)
Intel i5-8500T or i5-9500T, 16GB RAM, 256GB SSD. The OptiPlex Micro is about the size of a thick paperback book. It sips power (idles around 8-12W), runs completely silent under light loads, and has USB 3.1, DisplayPort, and Gigabit Ethernet. This is my go-to recommendation.
Lenovo ThinkCentre M90q Gen 1 ($120-$200 refurbished)
10th Gen Intel, same 1-liter form factor, built like a tank. ThinkCentre Tiny machines have excellent thermal management and Lenovo’s enterprise firmware support. Slightly newer silicon than the OptiPlex 7060, so you might get a bit more headroom.
HP EliteDesk 800 G5 Mini ($100-$170 refurbished)
The HP option in the trio. i5-9500T, compact, quiet, and well-documented in the home server community. ServeTheHome’s Project TinyMiniMicro has done extensive testing on these exact machines for server use.
All three of these will handle everything we’re going to set up in this guide without breaking a sweat. Aim for at least 16GB of RAM and a 256GB SSD. If the listing comes with 8GB, budget another $15-20 for a RAM upgrade since DDR4 SODIMMs are dirt cheap right now.
Storage Note
The internal SSD is fine for your operating system and Docker containers. If you plan to store a large media library (movies, TV shows, music), plug in a USB 3.0 external drive. A 4TB external HDD runs about $80-100 these days and is more than enough to start.
If You Want to Buy New: The N100 Mini PCs
The used-OptiPlex route gives you the most raw value under $200, but some people just don’t want to gamble on a refurb. Fair. If you’re in that camp, the Intel N100 mini PCs are the next best option. The Beelink S12 Pro typically lands around $160-185 on Amazon, ships with 16 GB of RAM and a 500 GB SSD out of the box, and includes Intel’s Quick Sync Video for hardware-accelerated transcoding in Jellyfin. That last part matters more than you’d think once you’re streaming to a couple of devices at once.
There are tradeoffs. Buying new pushes the $200 ceiling to its absolute limit, leaving basically nothing left for extra drives or a network switch. And if you’re benchmarking raw compute, an N100 is meaningfully slower than a refurb 8th-gen desktop Core i5 in sustained multi-threaded work, roughly half the throughput when you stack up the core counts (PassMark puts the i5-8500 around 9,500 vs the N100’s ~5,300). If you’re planning to run 10 Docker containers simultaneously and transcode 4K files all day, the used route still wins on specs per dollar.
The newer Beelink EQ14 uses the N150 (the N100’s successor) at a similar price and gives you a slightly higher GPU clock for transcoding, same tradeoffs, either works. For what it’s worth, the S12 Pro has a solid reputation in the r/selfhosted community for quiet operation and low idle power draw, and you get a real warranty. That’s not nothing. Just go in knowing you’re paying a small premium for the peace of mind, not for more performance.
What About a Raspberry Pi 5?
I know someone’s going to ask, so let me address it directly.
The Raspberry Pi 5 is a solid little board, and the 8GB model ($125 as of mid-2026, up significantly from its launch price) paired with a case, power supply, and NVMe HAT will run you around $170-190 total. It works great for lightweight tasks: Pi-hole, Home Assistant, a WireGuard VPN endpoint, basic Docker containers.
Where it falls short is media transcoding. The Pi 5 can direct-play media, but if a client device needs the server to transcode a 4K file (which happens more than you’d think), the Pi doesn’t have Intel Quick Sync or any hardware encoding support. It’ll choke. An i5-based mini PC handles transcoding effortlessly because Intel Quick Sync has been baked into their processors for years.
The Pi 5 also caps at 8GB of RAM (the 16GB model is $205 and lands well over budget), and the ARM architecture means occasional compatibility headaches with Docker images that only ship x86 builds.
My take: If you only want Pi-hole and Home Assistant, a Pi 5 is fine. But a used mini PC now costs about the same or less once you add the Pi’s required accessories, and you get hardware transcoding and x86 compatibility on top. For a do-everything home server, the mini PC wins on every line.
Picking Your Linux Distro
This is where people get paralyzed by choice. There are dozens of Linux distributions, and the internet will argue about them forever. Let me simplify it.
For Most People: Ubuntu Server 24.04 LTS (or 26.04 if you’re installing after April 2026)
Ubuntu Server is free, has the largest community of any Linux distro, and nearly every tutorial you’ll Google is written for it. Ubuntu 26.04 LTS launched in April 2026 and is a fine choice if you’re installing now. Ubuntu 24.04 LTS is also still supported until 2029 and works for everything in this guide. Either version is fine, just know most tutorials floating around currently reference 24.04, so don’t be surprised if screenshots or menu labels look slightly different. The LTS releases get five years of security updates, so you install it once and don’t think about major upgrades for a long time.
It comes with nothing you don’t need. No desktop environment, no bloat. Just a clean terminal prompt waiting for you to tell it what to do. Install Docker on top of it, and you’ve got a server that can run basically anything.
For the Tinkerer: Proxmox VE
Proxmox is a free, open-source virtualization platform. Instead of running everything directly on the OS, Proxmox lets you create virtual machines and Linux containers (LXCs), each isolated from the others.
Why would you want that? Because you can run Ubuntu in one container, experiment with a totally different setup in another, and if something breaks, you just delete that container without touching the rest of your system. It’s a playground with guardrails.
Proxmox also has a slick web UI for managing everything, which is nice if you’re not comfortable living in the terminal 24/7.
The downside: it’s an extra layer of complexity. If you just want to run some Docker containers and be done with it, Proxmox is overkill. But if you enjoy learning and want the flexibility to experiment, it’s fantastic.
My Recommendation
Start with Ubuntu Server. Get comfortable. Run some containers. Once you feel limited by a single-OS setup (or you catch the homelab bug and want to experiment), wipe the drive and install Proxmox. You’ll appreciate it more once you understand what problem it solves (my Proxmox vs TrueNAS vs Unraid comparison covers exactly that).
Setting Up Your Linux Home Server (The Actual Steps)
Alright, you’ve got your hardware. Let’s set this thing up. I’m going to walk through Ubuntu Server since that’s what I’m recommending for beginners.
1. Flash the installer. Download Ubuntu Server 24.04 LTS and flash it to a USB drive using balenaEtcher or Rufus. Plug it into your mini PC, boot from USB (usually F12 or F2 at startup), and follow the installer prompts.
2. Set a static IP. During installation, or immediately after, give your server a static IP address on your local network. This way it doesn’t change every time your router feels like reassigning addresses. You can do this in the Ubuntu installer’s network config screen, or in your router’s DHCP settings by assigning a reservation.
3. Enable SSH. The installer will ask if you want to install OpenSSH server. Say yes. This lets you manage your server from any other computer on your network without needing a monitor plugged into it. Once it’s set up, you can disconnect the monitor and keyboard forever.
# From your laptop/desktop, connect to your server:
ssh yourname@192.168.1.100
4. Update everything.
sudo apt update && sudo apt upgrade -y5. Basic security hardening. Don’t skip this. Seriously.
# Disable root login over SSH
sudo sed -i 's/PermitRootLogin yes/PermitRootLogin no/' /etc/ssh/sshd_config

# Set up a basic firewall
sudo ufw allow OpenSSH
sudo ufw enable
Consider setting up SSH key authentication instead of passwords. It’s more secure and honestly more convenient once you set it up. There are a million good tutorials for this, so I won’t rehash it here.
Docker: The Secret Weapon
If there’s one concept that makes self-hosting accessible to normal humans, it’s Docker. Here’s the short version: Docker lets you run applications in isolated containers, each with its own dependencies, without them stepping on each other. And Docker Compose lets you define your entire server setup in a single YAML file. A great thing to run on a home server once Docker is in place is n8n, a free, self-hosted automation tool that connects your services without any monthly fees.
Install Docker and Docker Compose:
# Install Docker
curl -fsSL https://get.docker.com | sudo sh

# Add yourself to the docker group so you don't need sudo every time
sudo usermod -aG docker $USER

# Log out and back in, then verify
docker --version
docker compose version
Now you can deploy almost any self-hosted application with a single command. Most projects ship a docker-compose.yml file that handles everything. You just create it, fill in a few config values, and run docker compose up -d. That’s it.
What to Actually Run on This Thing
Here’s the fun part. These are the services I’d put on a fresh Linux home server first, roughly in order of “you’ll use this immediately” to “you’ll be glad you have it.”
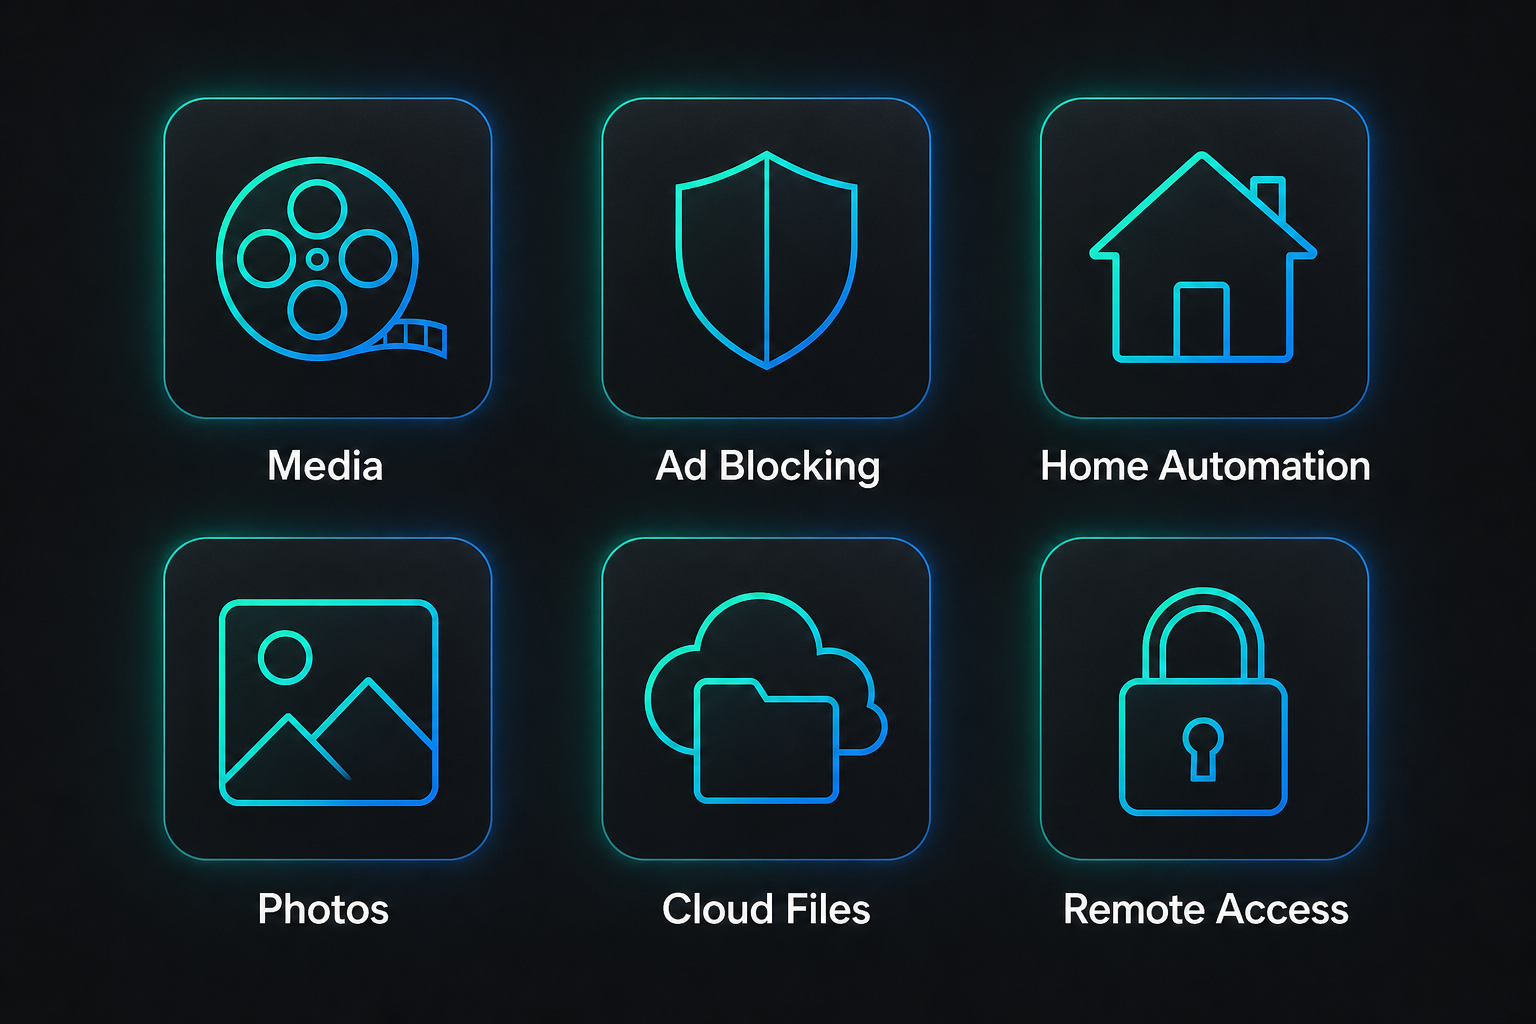
Jellyfin (Media Streaming)
Jellyfin is the free, open-source alternative to Plex. No subscription, no account required, no phoning home to corporate servers. You point it at your media library, and it organizes everything with artwork, metadata, and subtitle support. Stream to your TV, phone, tablet, or browser.
On an i5-based mini PC with Intel Quick Sync, hardware-accelerated transcoding works beautifully. Multiple simultaneous streams, no problem.
# docker-compose.yml snippet for Jellyfin
services:
  jellyfin:
    image: jellyfin/jellyfin
    container_name: jellyfin
    volumes:
      - ./jellyfin/config:/config
      - /media/movies:/media/movies
      - /media/tv:/media/tv
    ports:
      - 8096:8096
    devices:
      - /dev/dri:/dev/dri  # Intel Quick Sync
    restart: unless-stopped
Pi-hole (Network-Wide Ad Blocking)
Pi-hole blocks ads at the DNS level for every device on your network. Your smart TV, your phone, your kids’ tablets. All of them stop showing ads in apps and browsers without installing anything on each device. You just point your router’s DNS settings to your server’s IP address.
It also gives you a slick dashboard showing how many queries it’s blocking. Fair warning: watching that number climb is oddly addictive.
Home Assistant (Smart Home Control)
If you have any smart home devices, Home Assistant is the hub that ties them all together. It supports over 3,000 device types and runs locally, so your automations keep working even if your internet goes down.
The real power is automations that span different ecosystems. Your Zigbee motion sensor triggers your Hue lights while your Ecobee thermostat adjusts. That kind of thing is impossible with individual apps but trivial with Home Assistant. If you want a step-by-step walkthrough of setting up your first Home Assistant dashboard, I wrote a full beginner guide that covers hardware, integrations, and the drag-and-drop editor.
Nextcloud (Your Own Cloud Storage)
Nextcloud is self-hosted Google Drive (plus calendar, contacts, notes, and more). Sync files between devices, share links with friends, and stop paying for cloud storage tiers. The mobile apps handle automatic photo backup, which alone might justify the setup.
Fair warning: Nextcloud is the most resource-hungry app on this list. Give it at least 2GB of RAM and expect to spend some time tweaking the config for good performance. It’s worth it, but it’s not a “set and forget” install.
Tailscale (Secure Remote Access)
Tailscale isn’t self-hosted (though Headscale is, if you want to go full self-hosted), but it solves the “how do I access my server when I’m not home” problem so elegantly that I’m including it anyway.
Tailscale creates a WireGuard-based mesh VPN between your devices. Install it on your server and your phone, and you can access all your services from anywhere as if you were on your home network. No port forwarding. No exposing anything to the public internet. No fiddling with dynamic DNS.
The free tier covers up to 100 devices, which is more than enough for anyone reading this. It’s also genuinely useful when you’re traveling: open the Tailscale app on your phone, and your home server is right there, no port forwarding required, no fussing with dynamic DNS.
# Install Tailscale on your server
curl -fsSL https://tailscale.com/install.sh | sh
sudo tailscale up
That’s it. Three commands and you’ve got secure remote access. 🔒 If you also run services on Render or DigitalOcean, I have a deeper guide on using Tailscale for side projects and small teams that covers connecting two cloud providers without opening any public ports.
The Part Nobody Tells You: What It Costs to Keep This Running
Here’s what the build guides never put in writing: a Linux home server is a small pet, not a kitchen appliance. You don’t set it up and walk away for three years. It needs feeding. Not much, but not zero, and the “not zero” is the part that surprises people who thought they were buying a one-and-done weekend project.
I’ve been patching and securing the DigitalOcean box this blog runs on for years, by hand, and the rhythm of a home server is the same animal at a smaller scale. The honest monthly time cost, once things settle in, is maybe an hour. Some months it’s basically zero. Then one month an update eats a Saturday morning, and that one bad month is the thing nobody warns you about.
Most of the upkeep is the same two-minute ritual every week or two:
# the boring weekly ritual
sudo apt update && sudo apt upgrade -y

# pull newer images for your containers, then recreate them
docker compose pull
docker compose up -d
That’s about 90% of maintenance, right there. Boring. Two minutes. Your containers come up on the newer images, your stuff keeps working, you go back to your life. The scary one is the big jump: going from one Ubuntu LTS to the next with do-release-upgrade, which touches the whole system at once. That’s where people get burned, and it’s also where a little caution saves your whole weekend.
So how often does something actually break?
Honestly? Rarely, as long as you keep the surface small. When it does break, it’s almost always one of three things: a major OS upgrade you rushed, a container’s new image that changed a config format overnight, or you, at 11pm, “just trying one more thing.” If I’m being honest, that last one has cost me more lost evenings over the years than the other two combined.
So de-risk the upgrades. Snapshot before you start. Read the release notes. Wait two or three weeks after a new LTS drops so other people find the landmines first. Pin the versions of anything you genuinely can’t afford to have shift under you. None of this is hard, it’s just the stuff that doesn’t show up in a “look how cheap this was” build post, because it isn’t sexy and it doesn’t sell a mini PC.
A Real Backup Plan (Because Your Drive WILL Die)
Every guide says “back up your data” and then strolls right past it, the way your dentist says “floss more” and reaches for the drill anyway. So let me actually give you the plan. Your Linux home server’s drive is not a question of if it dies, it’s when. SSDs die quietly. Spinning drives die loud. Either way, plan for the funeral now.
The framework worth knowing is 3-2-1, and it’s less intimidating than it sounds. Three copies of anything you’d be sick to lose. On two different kinds of media. With at least one copy off the machine, ideally off-site. That’s the whole thing.
What actually needs backing up?
Not the whole server. You can reinstall Ubuntu and Docker in an afternoon. Three things are what actually matter:
- Your
docker-compose.ymlfiles and any.envconfigs. This is the blueprint for the entire box. With it, a dead server is a one-hour rebuild. Without it, you’re reconstructing every setting you ever changed, from memory, at the worst possible time. - Your named Docker volumes. That’s where the app data actually lives: your Pi-hole tweaks, your Home Assistant history, your Nextcloud database. Lose these and the apps come back empty.
- The genuinely irreplaceable stuff. Photos. Documents. The things that exist nowhere else. You can re-rip a movie. You cannot re-shoot a birthday from 2019.
Where does it all go? Off the box, no exceptions. A second drive in the same machine does not count, because the events most likely to wipe your data (a dying power supply, a botched upgrade, a thief who likes your shelf) tend to take both drives at once. I keep a Synology NAS around as the off-box target, and a scheduled job pushes the important folders to it on a timer. For the truly irreplaceable photos, a cheap cloud bucket or a sync up to a Google account gets you that off-site third copy without much fuss.
And then run the test almost nobody runs. Pretend the server is already dead. Grab one backed-up file and actually restore it onto a spare machine or a fresh VM. The first time you try, something will be missing, a path will be wrong, a volume won’t mount. Better to find that out on a Tuesday with the original still safe than on the day you genuinely need it. An untested backup is just a feeling, not a file. I check mine, because I’ve watched too many smart people learn that lesson the expensive way.
What I’d Actually Self-Host vs. What I Just Pay For
Now the part I actually care about, and the part no buyer’s guide will tell you, because they’re busy selling you nine services and an affiliate link for each one. My homelab tinkering days are mostly behind me, for now. After 20-plus years of running my own stuff, I’ve gotten pretty ruthless about what earns a slot on a box I have to keep alive and what I’m perfectly happy to pay someone else to babysit.
Worth self-hosting, full stop:
- Pi-hole. Set it once, it blocks ads for the whole house for years, and it basically never asks you for anything again. Best effort-to-payoff ratio on this entire page.
- A media server like Jellyfin. The subscriptions it replaces keep getting pricier and worse, your library never expires on you, and once it’s dialed in it mostly behaves itself.
- File sync and photo backup. Owning the only copy of your photos is the entire point of the exercise. Just remember the backup section above, because now you are the cloud, and the cloud is not allowed to lose things.
Worth paying for, honestly:
- Email. Do not self-host email. This is the gospel of every grizzled admin, and it’s gospel for a reason. Deliverability is a permanent street fight with spam filters that assume your little home IP is a robot until proven otherwise. Pay the few dollars a month. I do, and I run servers for a living.
- Anything where downtime ruins someone else’s day. If your spouse can’t pull up the shared grocery list because you’re “just rebooting real quick,” congratulations, you’ve invented a brand-new way to be in trouble at home. Some things should simply work without you in the loop.
- A password manager, for most people. Self-hosted Vaultwarden is excellent if you will actually keep it patched and backed up. If you won’t, a hosted manager is safer than a neglected box quietly holding the keys to your entire digital life.
The thread through all of it: self-host the things that are fun, cheap to keep alive, and low-stakes when they hiccup. Pay for the things that are a pain to run or expensive to get wrong. I wrote a whole post on where I personally draw that line and the actual stack I run today if you want the build-side companion to this guide.
Stuff I Wish Someone Had Told Me
The build of a Linux home server is the easy part. The failure modes are what you learn the hard way, usually at the worst time. Here are the specific ones, and how to dodge them before they bite.
The SD card in your Pi will die. It’s not a maybe. If you went the Raspberry Pi route, do not run the operating system off a microSD card for 24/7 use. They wear out from constant small writes, and the classic horror story is a Pi that ran beautifully for five months and then bricked its card overnight, taking your config with it. Boot from a USB SSD instead. It’s the cheapest insurance you’ll ever buy.
Bus-powered USB drives drop out under load. Storing data on a little portable drive that sips power from the USB port? Under a long sustained write, those can randomly disconnect, and a disconnect mid-write is exactly how you corrupt a file. Use an external drive with its own power adapter for anything that runs around the clock.
Open one port to the internet and the bots find it in hours. Not days. Hours. Expose SSH to the public internet and your logs fill with hundreds of login attempts from IPs all over the planet, automated scanners hammering every box they can reach. So don’t port-forward. Use Tailscale, like we set up above, and your services stay invisible to the entire internet while still being one tap away on your phone.
The day you upgrade Ubuntu, snapshot first. A botched do-release-upgrade can drop you at a broken boot prompt with no obvious way home. If you’re running Proxmox or a VM, take a snapshot before you start the upgrade, so a bad one is a 30-second rollback instead of a reinstall-everything-from-scratch weekend.
Start with one service, not nine. It’s tempting to install everything the first night. Don’t. Get one thing working, learn how it’s wired together, then add the next. When something breaks, and it will, you’ll know exactly what changed because you only changed one thing.
Check your power bill after a month, then beware the rabbit hole. These mini PCs idle at 8 to 12 watts, basically a rounding error, maybe $1 to $3 a month even running nonstop. The danger was never the first box. It’s that r/selfhosted and r/homelab are a gateway drug, and somehow you wake up six months later with a rack in the closet and a power bill that grew legs. 😄
The $200 Budget Breakdown
Just to put it all together:
- Used Dell OptiPlex 7060 Micro (i5, 16GB RAM, 256GB SSD): ~$100-130
- 4TB External HDD (for media storage, optional): ~$80-100
- USB flash drive (for the installer): ~$5, or use one you already have
Total for the base server: $100-130. Total with media storage: $180-230. Everything running on it (Ubuntu, Docker, Jellyfin, Pi-hole, Home Assistant, Nextcloud, Tailscale) is free and open-source.
Compare that to annual subscriptions for Plex Pass ($120), iCloud 200GB ($36), a VPN ($80), and a smart home hub ($80-130), and the hardware pays for itself within a year. The running cost after that is a few bucks of electricity and an hour a month of your attention. Go in expecting both, and a Linux home server is one of the best-value projects in tech.
Sources
- Mini PC Buying Guide 2026 (2ndBoot)
- Best Mini PCs for Home Servers 2026 (selfhosting.sh)
- Best Mini PC for Home Server (Mini PC Lab)
- Project TinyMiniMicro (ServeTheHome)
- 5 Reasons I Prefer Ubuntu Over Proxmox (XDA Developers)
- Unraid vs Proxmox vs Ubuntu (eFundies)
- How to Self-Host Everything: 2026 Beginner’s Guide (selfhostable.dev)
- Is the Raspberry Pi 5 Worth It in 2026? (IoT Studioz)
- Stop Buying Raspberry Pis for These Home Server Tasks (XDA Developers)
- Tailscale Setup for Self-Hosting (selfhosting.sh)
- Self-Hosting Guide (GitHub)
- The 3-2-1 Backup Strategy (Backblaze)
Got a home server running already? I want to hear what you’re hosting and what hardware you’re using. Drop it in the comments. And if this is your first build, come back and tell me how it went. I’m genuinely curious what services you end up running first, and which one breaks on you first. (One of the more satisfying add-ons once Home Assistant is running: sync your BLE smart scale to Garmin and Home Assistant without the vendor cloud.) Another popular next step once the box is running: local LLMs. If you’re not sure which model is worth your RAM, I put together a synthesis of what 311 r/LocalLLaMA replies actually agreed on for 2026. When you know which model you want, the beginner guide to running AI locally with Ollama has the full install walkthrough.)

Pingback: Big Guy on Hosting: GoDaddy
Pingback: Why I Don't Self Host Everything: My Real 2026 Stack
Pingback: Best Local LLM 2026: 311 Replies, 4 Honest Gaps Google Hides