A few weeks ago I wrote about why your smart home protocol matters more than which voice assistant you use. The short version: Matter over Thread is the foundation you should be building on in 2026, and the ecosystem is finally big enough to make that practical.
But knowing which protocol to use and actually setting up a smart home hub are two very different things. So this is the practical follow-up: building a Home Assistant dashboard from scratch. We’re going to install Home Assistant, connect some devices, and build your first home assistant dashboard. All in under an hour, and without touching a single line of YAML.
If you’ve been curious about Home Assistant but felt like it was too “Linux nerd” for you, this is where that changes.
Why Home Assistant (And Not Just the Alexa App)
Here’s the thing about using the Alexa app, Google Home, or Apple Home as your smart home “hub.” They work fine when all your devices are from one ecosystem. The moment you mix brands (and you will), things get weird. Your Kasa smart plug shows up in the Alexa app but can’t trigger your Aqara motion sensor. Your Hue bulbs work in Apple Home but your cheap Tuya switch doesn’t.
Home Assistant doesn’t care what brand your devices are. It supports over 3,000 integrations. Zigbee, Z-Wave, Matter, Thread, Wi-Fi, Bluetooth. It talks to basically everything, and it runs locally in your house. No cloud dependency. Your automations keep running even if your internet goes down.
That local control piece is a bigger deal than most people realize. If Amazon’s servers hiccup (and they do), your Alexa-based automations stop working. Home Assistant running on hardware in your office doesn’t have that problem.
What Do You Need to Build Your First Home Assistant Dashboard?
You’ve got a few options for running Home Assistant. I’ll list them from simplest to most flexible.
Option 1: Home Assistant Green (Easiest)
The Home Assistant Green is a dedicated box purpose-built for Home Assistant. Plug in power, plug in Ethernet, and you’re running in about five minutes. No OS to install, no configuration to fiddle with. It just works.
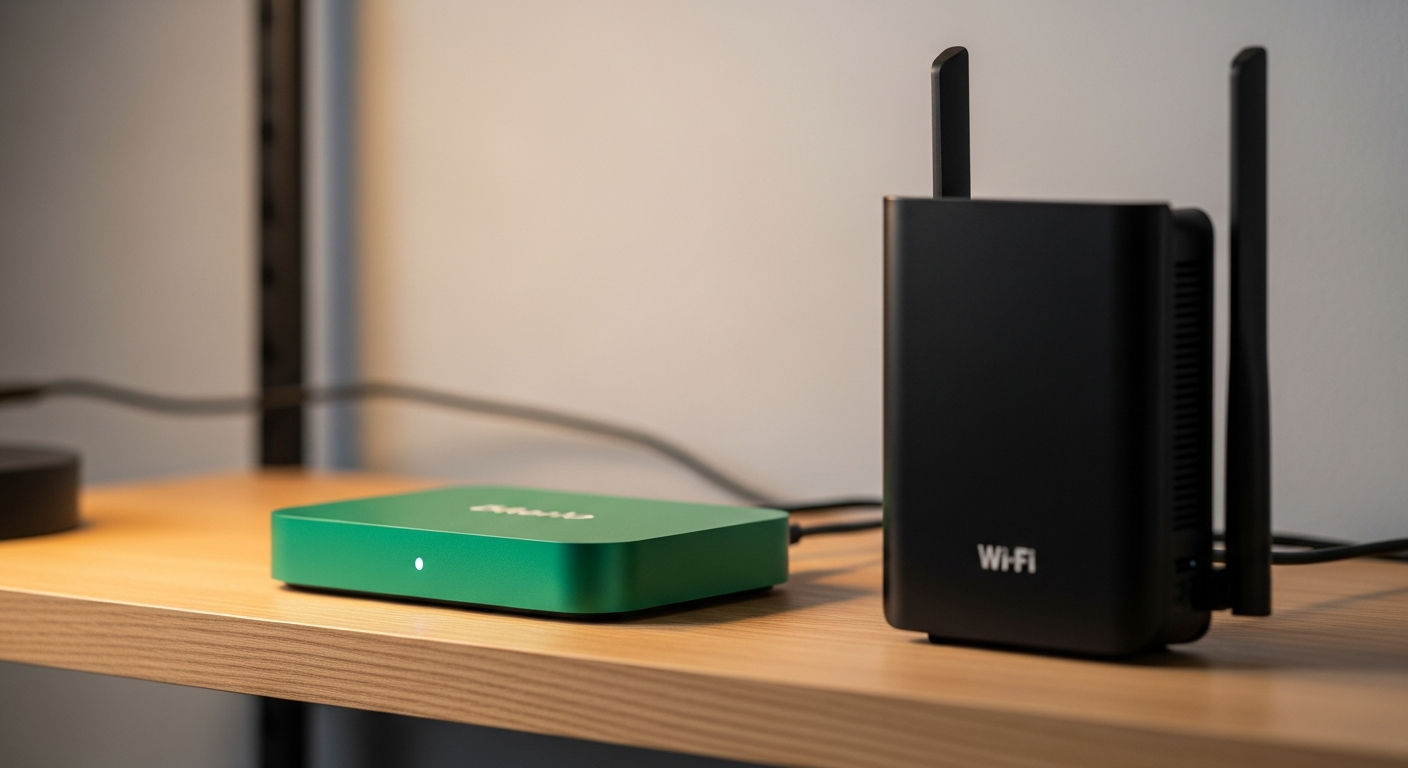
It’s $99, runs silent, and takes up about as much desk space as a pack of playing cards. For anyone who wants the fastest path from “I have nothing” to “I have a working smart home hub,” this is it.
The tradeoff: it’s not very powerful. The Green runs on a Rockchip RK3566 with 4GB of RAM. That’s perfectly fine for Home Assistant and a couple hundred devices, but you can’t really run anything else on it. If you want Jellyfin, Pi-hole, and a dozen other services alongside it, you’ll want a mini PC instead.
Option 2: Run It on a Mini PC or Home Server
If you already followed my guide on building a Linux home server for under $200, you’ve got everything you need (and if you haven’t picked your OS yet, the Proxmox vs TrueNAS vs Unraid comparison covers that decision). Home Assistant runs beautifully as a Docker container on any of those mini PCs.
This is the more flexible route. Your smart home hub lives alongside your other services, all on one quiet little box. The downside is a bit more setup (we’ll cover it), and if your server goes down for maintenance, your smart home goes with it.
Option 3: Raspberry Pi 5
Works, but with caveats. The Pi 5 handles Home Assistant just fine for basic setups. Where it can struggle is if you pile on lots of integrations, custom dashboards with real-time data, and a few dozen Zigbee devices all chattering at once. It’ll manage, but you might notice some sluggishness over time that you won’t get on an x86 mini PC.
One More Thing: The Connect ZBT-2 Dongle
Regardless of which hardware you choose, if you want to connect Zigbee or Thread devices directly (without a separate hub from each manufacturer), you’ll need a USB radio dongle.
The Home Assistant Connect ZBT-2 is the current recommended dongle (~$49). It replaced the ZBT-1 (also sold as SkyConnect), which is now out of production and out of stock at most retailers. The ZBT-2 handles both Zigbee and Thread, uses the newer Silicon Labs MG24 chip for better signal sensitivity, and ships with a free-standing antenna design that sidesteps the USB 3.0 interference problem of the original stick form factor. Plug it in and Home Assistant detects it automatically.
If you already own a ZBT-1 or SkyConnect, you’re fine. Software support continues and it works the same. But if you’re buying new, get the ZBT-2.
The Home Assistant Green has a dongle slot built in but doesn’t include one in the box, so you’ll want to grab one either way.
Installing Home Assistant
The process depends on your hardware, but none of these take more than 15 minutes.
On the Home Assistant Green
Honestly, there’s almost nothing to do. Plug the Green into your router via Ethernet, plug in the USB-C power cable, and wait about two minutes. Then open a browser on any computer on your network and go to:
http://homeassistant.local:8123That’s it. You’ll see the onboarding screen. If homeassistant.local doesn’t resolve (some routers are picky about mDNS), use your router’s admin page to find the Green’s IP address and go to http://[IP]:8123 instead.
On a Mini PC Running Docker
If you’ve got Docker and Docker Compose set up (covered in the home server guide), create a docker-compose.yml file for Home Assistant:
mkdir -p ~/homeassistant && cd ~/homeassistant
nano docker-compose.yml
Paste this configuration:
services:
  homeassistant:
    container_name: homeassistant
    image: ghcr.io/home-assistant/home-assistant:stable
    volumes:
      - ./config:/config
      - /etc/localtime:/etc/localtime:ro
      - /run/dbus:/run/dbus:ro
    restart: unless-stopped
    privileged: true
    network_mode: host
Then spin it up:
docker compose up -dGive it a minute to pull the image and start up, then hit http://[your-server-ip]:8123 in a browser. You should see the onboarding wizard.
Important note: The network_mode: host and privileged: true settings are necessary for Home Assistant to discover devices on your local network and talk to USB dongles like the Connect ZBT-2. Running it in a restricted Docker network will cause discovery headaches.
On a Raspberry Pi 5
The easiest path is to flash Home Assistant OS directly onto your Pi’s SD card (or NVMe drive if you’ve got the HAT). Download the image from the official installation page, flash it with balenaEtcher, boot the Pi, and navigate to http://homeassistant.local:8123.
First Boot: The Onboarding Wizard
When you hit that URL for the first time, Home Assistant walks you through initial setup. Create your user account, name your home, set your location (this powers sunrise/sunset automations and weather data), and pick your units.
Home Assistant will then scan your network and likely find devices it already recognizes. If you’ve got Chromecast, Roku, Philips Hue, Sonos, or similar networked devices, they’ll probably show up automatically. Go ahead and add whatever it finds. You can always remove or reconfigure later.
This auto-discovery step is genuinely impressive. The first time you see it pull in your TV, your printer, and your router without you doing anything, it clicks why people get hooked on this platform.
After onboarding, you’re ready to start adding devices and building your home assistant dashboard.
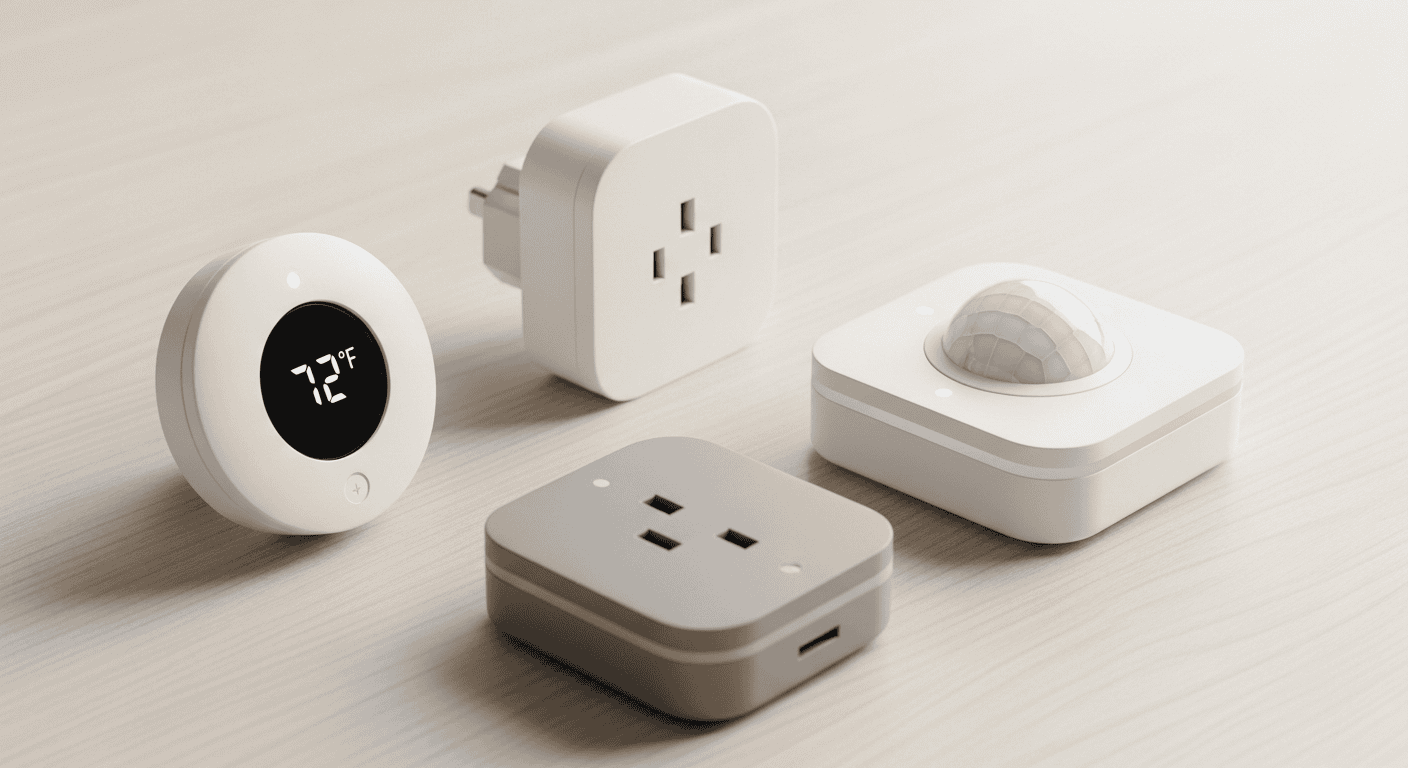
Adding Your First Devices
Here’s where it gets hands-on. I’ll walk through adding a few common device types.
Zigbee Devices (via Connect ZBT-2 or ZBT-1)
If you’ve got the Connect ZBT-2 (or ZBT-1) dongle plugged in, go to Settings > Devices & Services > Add Integration and search for “Zigbee Home Automation” (ZHA). Home Assistant will detect the dongle and set it up as your Zigbee coordinator.
To pair a device (let’s say an Aqara Temperature and Humidity Sensor):
- In Home Assistant, go to Settings > Devices & Services > ZHA
- Click Add Device
- Put the Aqara sensor in pairing mode (press and hold the button for 5 seconds until the LED blinks)
- Home Assistant should find it within 30 seconds
That’s it. The sensor is now reporting temperature, humidity, and pressure to Home Assistant. No Aqara app, no Aqara hub, no cloud account.
Matter Devices
If you read the Matter/Thread post, you know that Matter devices pair via QR code. In Home Assistant, go to Settings > Devices & Services > Add Integration, search for “Matter,” and enable it.
To pair a Matter device, click Add Device in the Matter integration, then scan the QR code on the device (or its packaging) using the Home Assistant companion app on your phone. The device gets added locally, no manufacturer cloud required. As of 2026.6, Home Assistant will also prompt you to give the device a name and assign it to an area right after pairing, which makes it easier to find in the card picker immediately.
Wi-Fi Devices
Most Wi-Fi smart devices (Kasa plugs, Meross switches, LIFX bulbs) will be auto-discovered by Home Assistant. You’ll see a notification in Settings > Devices & Services saying a new device was found. Click configure, and it walks you through connecting.
Some will need the manufacturer’s app for initial Wi-Fi setup, after which Home Assistant can take over local control. It varies by brand, but the Home Assistant integration pages document each one clearly. One heads-up if you’re using Kasa or Tapo plugs: a 2024 firmware update changed how the HA integration authenticates. My TP-Link home automation guide has the full rundown and the fix.
Building Your First Home Assistant Dashboard
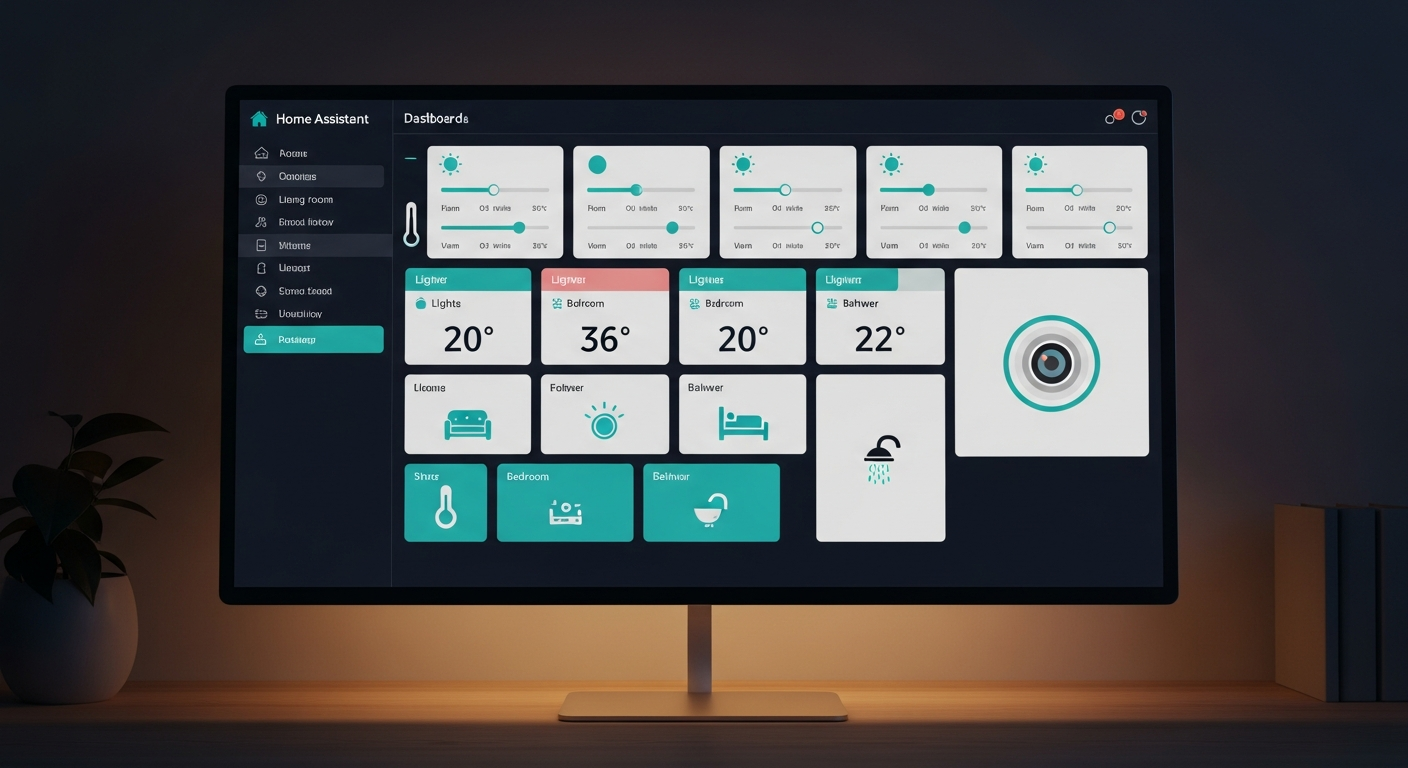
This is the part that used to require YAML and scared people off. Not anymore. Home Assistant’s visual dashboard editor (drag-and-drop sections view introduced in the 2024.3 release, continually improved through the current 2026.6) lets you build everything with clicks and drag-and-drop.
Step 1: Create a New Dashboard
Go to Settings > Dashboards > Add Dashboard. Give it a name (“My Home” is fine) and set it as the default if you want it as your landing page.
Step 2: Switch to Edit Mode
Open your home assistant dashboard, then click the pencil icon in the top right corner. You’re now in the home assistant dashboard editor.
Step 3: Add Cards
Cards are the building blocks of your dashboard. Each card displays information or provides controls for one or more devices. In 2026.6, the card picker is entity-first: click Add Card and you’ll see your home’s floor and area tree on the left panel. Browse to the device you want, click on it, and the right panel shows you live card previews suggested for that entity’s type. Pick the preview you like and you’re done. You choose the entity first, and Home Assistant figures out which card fits. Here are the card types you’ll end up with most often:
Entities Card. Shows a list of devices with their current state. Great for an “at a glance” overview of a room. Pick the entities you want (living room lights, office temperature sensor, front door lock status) and they all show up in a clean list.
Button Card. A big tappable button that toggles a device. Perfect for lights, fans, and switches. One tap to turn on, another to turn off. You can customize the icon and color.
Thermostat Card. If you’ve got a connected thermostat (Ecobee, Nest, Honeywell), this card gives you a visual dial to see and adjust your temperature.
Weather Card. Pulls in your local weather. Not exactly a smart home control, but it looks good on a dashboard and you’ll glance at it more than you’d think.
Gauge Card. Shows a single sensor value on a dial. Temperature, humidity, air quality, whatever you’re measuring. I like this for a home office setup: a gauge showing current room temperature is actually useful when you’re deciding whether to open a window or crank the AC.
Step 4: Organize by Room (or However You Think)
You can create sections within a dashboard to group cards by room, device type, or whatever logic makes sense to you. Most people start with rooms: Living Room, Office, Bedroom, Kitchen. But there’s no wrong answer here.
To add a section, click the + Add Section button in edit mode. Drag cards between sections to reorganize. It’s all visual, all drag-and-drop.
Step 5: Save and Admire Your Work
Click Done in the top right. You now have a functioning smart home dashboard. Open the Home Assistant companion app on your phone and you’ll see the same dashboard there.
Here’s a rough example of what a starter home assistant dashboard might include:
- Living Room section: Button cards for ceiling light and lamp, entity card showing TV status and speaker volume
- Office section: Temperature gauge from your Aqara sensor, button for desk lamp, entity showing whether your PC is on
- Security section: Front door lock status, motion sensor last triggered, camera snapshot (if you have one)
- Whole House section: Weather card, away mode toggle, scene buttons (Movie Night, Good Morning, Bedtime)
Nothing fancy. But genuinely useful.
Your First Automation (Bonus Round)

A dashboard is great, but automations are where Home Assistant really earns its keep. Here’s a simple one to get you started, and you can set it up entirely through the UI.
Go to Settings > Automations & Scenes > Create Automation. Choose “Create new automation.”
Example: Turn on the office light when motion is detected, turn it off after 10 minutes of no motion.
- Trigger: Device trigger > your motion sensor > motion detected
- Action: Call service > Light: Turn on > your office light
- Then add a second automation (or use a “wait for” action) for turning it off after 10 minutes of no motion
The automation editor is visual. You pick triggers from a dropdown, select devices by name, and set actions with a few clicks. No code, no YAML, no config files.
Once you’ve got one automation running, you’ll immediately start thinking of five more. That’s normal. That’s the fun part. 🏠
Starter Kit Shopping List
If you’re starting from zero, here’s what I’d grab to have a solid foundation. None of this is required to follow the guide above, but this combination gives you a hub, radio connectivity, sensors, and controllable devices right out of the box.
Home Assistant Green (~$99) The dedicated hub. Plug and play. If you don’t already have a home server, this is the easiest path.
Home Assistant Connect ZBT-2 USB Dongle (~$49) Adds Zigbee and Thread radio support via the newer Silicon Labs MG24 chip. Pairs devices directly without brand-specific hubs.
Aqara Temperature and Humidity Sensor (~$15 each) Tiny, battery-powered, and accurate. Grab two or three for different rooms. The office one is surprisingly useful for WFH comfort monitoring.
Kasa Smart Plug (EP25) (~$10 each) Wi-Fi based, so no dongle needed. Home Assistant auto-discovers these. Great for lamps, fans, or anything you want to control on a schedule.
IKEA KAJPLATS Smart Bulbs (~$6-13 each) IKEA’s current Matter-over-Thread bulb line (replaced TRADFRI in early 2026). Budget-friendly, solid light quality for most rooms, and they pair directly with Home Assistant’s Matter integration.
Amazon Fire HD 10 Tablet (~$140) Wall-mount this in a hallway or kitchen and load the Home Assistant companion app in kiosk mode. Instant wall home assistant dashboard. The Fire HD 10 has a decent screen, runs the HA companion app well, and costs a fraction of dedicated smart home panels. Grab a cheap tablet wall mount bracket and you’ve got something that looks intentional, not hacked together.
Total for the full starter kit: roughly $350-400 depending on how many sensors and plugs you grab. That gets you a hub, radio connectivity, environmental monitoring, smart lighting, controllable outlets, and a wall-mounted dashboard. Not bad for a complete smart home foundation.
Tips That’ll Save You Frustration
Watch out for USB 3.0 interference with your Zigbee/Thread dongle. USB 3.0 ports generate radio interference that can mess with Zigbee and Thread signals. A short USB 2.0 extension cable (even just 6 inches) moves the dongle away from the interference zone. Reviewers consistently flag this as the number one fix for flaky Zigbee pairing. Note: the ZBT-2’s free-standing antenna design resolves this, so the extension cable workaround is only needed for the ZBT-1 or original SkyConnect.
Name your devices immediately. Home Assistant auto-generates names like “light.living_room_light_1_2.” Rename everything to something human the moment you add it. Future you, trying to build an automation at 11pm, will be grateful.
Don’t go crazy with automations on day one. Get your devices added and your dashboard built first. Live with it for a week. You’ll naturally notice patterns (“I always turn the office light on when I sit down”) that make better automations than anything you’d dream up in advance.
Back up your configuration before you go deep. Before you start stacking on integrations, go to Settings > System > Backups and enable automatic backups. You can schedule them to run nightly or weekly right from that screen. Restoring from a backup is one click, and that has saved me more than once after a bad config change or an update that broke something.
The companion app is essential. Install it on your phone. Beyond remote dashboard access, it turns your phone into a sensor: location tracking (for “turn on the porch light when I get home” automations), battery level, Wi-Fi connection status, and more. Available for both iOS and Android. For remote access from outside your home network without port forwarding, pair it with Tailscale.
What’s Next After the Basics
Once you’ve got your home assistant dashboard running and a few automations dialed in, here’s where people usually go next:
More sensors. Door/window contact sensors, water leak detectors, air quality monitors. The more data Home Assistant has, the smarter your automations can get.
BLE health sensors. If you have a Bluetooth smart scale, Home Assistant can bridge its data to Garmin Connect and InfluxDB without routing through the vendor cloud. I wrote a full guide on setting up the BLE scale sync bridge if you want to add it to your setup.
Voice control. You can connect Alexa, Google Assistant, or even a local voice assistant (Home Assistant has its own called Assist) to control everything by voice.
Energy monitoring. Smart plugs with energy monitoring (like the Kasa EP25, which I included in my tech gifts under $100 for dad list for exactly this feature) can track power usage. Home Assistant’s Energy dashboard visualizes it all, which is eye-opening when you realize how much power that old mini-fridge in the garage is pulling. 📊
Custom dashboards. The default cards cover most needs, but the community has built hundreds of custom cards via HACS (Home Assistant Community Store). Animated weather cards, 3D floor plans, custom button styles. Once you’re comfortable with the basics, HACS is the next rabbit hole.
Install HACS early. HACS (Home Assistant Community Store) is basically an app store for Home Assistant that doesn’t ship with HA out of the box. It gives you access to thousands of community integrations and custom dashboard cards that dramatically expand what you can do. Head to hacs.xyz for the setup walkthrough. It takes about 10 minutes and you’ll wonder how you got along without it.
Maintenance Dashboard. 2026.5 also quietly shipped a built-in Maintenance Dashboard that groups battery-low alerts by area, worth checking under Configuration once you have a few sensors running. If you want to push automation even further beyond what Home Assistant handles natively, n8n is worth a look — it fills the gaps that HA’s built-in automations leave behind.
Share Your Setup
If you followed the Matter/Thread post and now this one, you’ve gone from understanding smart home protocols to having a working hub and home assistant dashboard. That’s a solid foundation.
What devices did you add first? Got an automation you’re proud of? Or did something go sideways during setup that I should warn people about? Drop a comment below. And if you know someone who’s been talking about getting into smart home stuff but hasn’t started, send them this post. Could save them a lot of trial and error.
Sources
- Home Assistant Official Installation Guide – Installation methods for all supported hardware
- Home Assistant 2026.1 Release Notes – Mobile Home dashboard refresh with summary cards
- Home Assistant Connect ZBT-2 – Current recommended dongle (Silicon Labs MG24). ZBT-1 page still active for existing ZBT-1/SkyConnect owners
- Home Assistant Green Product Page – Specs, setup, and compatibility details
- Ordoh: Home Assistant Beginners Guide 2026 – Alternative beginner walkthrough with hardware comparisons
- DEV.to: Home Assistant in 2026 Complete Beginner Guide – Community beginner guide
- Dashboards (Official Home Assistant Docs) – Dashboard design patterns, card types, and view layouts
- Best Home Assistant Dashboards 2026 (Seeed Studio) – Dashboard inspiration and custom card examples
- Matter Standard in 2026: Status Review – Matter 1.5 spec and device certification counts
- USB 3.0 Radio Frequency Interference (Home Assistant Community) – USB 3.0 interference documentation and extension cable fix
- HACS (Home Assistant Community Store) – Official site and installation documentation