Six months in is when the slow damage stops being invisible. The slightly awkward monitor angle you’ve been ignoring since January, the chair that doesn’t sit quite right anymore, the wrists you’ve been resting at a slight upward cant without noticing. All of that compounds. And it compounds faster if you’re carrying real weight, because the forces involved are not the same as they are for the guy in the stock photo every generic wfh ergonomics checklist was written for.
I’ve been working from home long enough to know this firsthand. Four years of daily use on my Herman Miller Embody have taught me a lot about what holds up and what doesn’t, and before that I went through a string of chairs that started failing within 18 months: creaking, popping, the hydraulic that slowly sank until I was essentially sitting on the floor. The pattern I noticed was always the same: things degraded quietly for months before they became obvious. And by the time they were obvious, the body had already adapted to compensate, which is the whole problem.
So here’s a wfh ergonomics checklist built for bigger frames. Not a stock-photo checklist with vague references to “90-degree angles” that assume a 5’9″ 165-lb body as the baseline. Actual numbers. Actual failure modes specific to how a bigger body loads a chair, a desk, a monitor height. Nine things to check before the 6-month mark tips into something a doctor has to diagnose.
1. Chair Foam Compression: Does Your Seat Still Feel Like It Did in January?
This is the silent one. Seat foam under sustained higher loads compresses faster than manufacturers advertise, and it doesn’t announce itself. You don’t wake up one day and think, “my foam has compressed.” What you think is, “my back’s been off lately” or “I should probably stretch more.”
The test: sit all the way back in your chair and check whether your knees are noticeably higher than your hips. If they are, the foam has compressed and your pelvis has been tilting forward for months. That forward tilt flattens the lumbar curve, which shifts load onto your discs rather than your muscles, which is where the pain comes from.
Budget chairs under sustained full-weight use typically lose meaningful foam structure in under 18 months. My Embody is still solid at 4 years. That chair has a 300-lb weight limit and a foam density specifically rated for heavy daily use, which is exactly why I paid what I paid for it. If you’re on a cheaper seat and you’ve been WFH since January, the foam is likely already part of your problem. A chair that doesn’t fail you at the 6-month mark takes some actual research, and I put together a full rundown on office chairs rated for bigger guys if you’re due for an upgrade.
The action: If the knee-higher-than-hip test fails, add a firm seat cushion in the short term. If the chair is over 2 years old with daily use, it may be structurally done and a cushion is just delay.
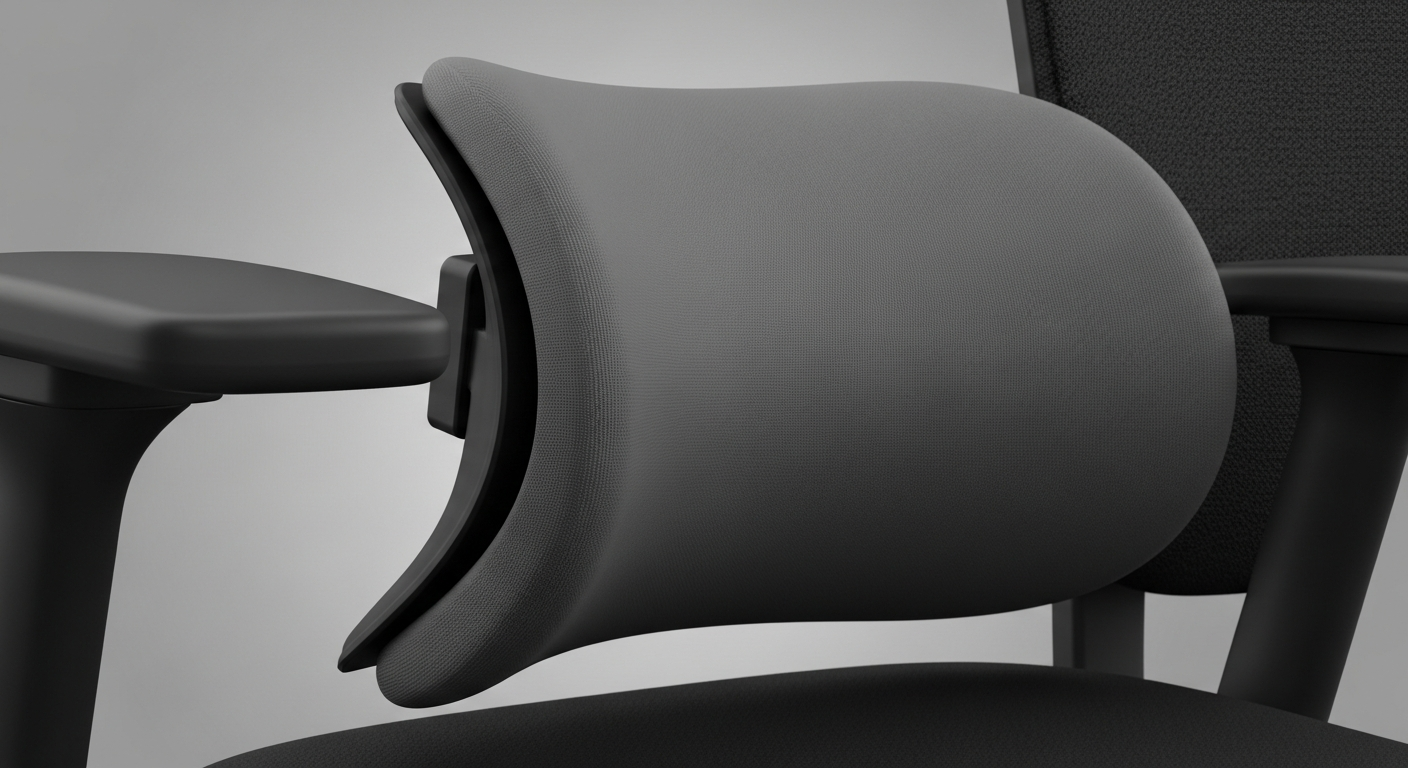
2. Lumbar Support Depth: Is It Actually Touching You, or Pushing You Forward?
Every lumbar support on the market is sized and positioned for a roughly average torso depth. If you have a deeper chest (which is common for bigger guys), a lumbar support that’s correctly positioned for a standard build may actually push your lower back away from the chair rather than support the natural curve.
The symptom is a slight forward lean you’ve stopped noticing. You’re technically not touching the backrest. Your core is doing constant low-level stabilization work to compensate, and your hip flexors are mildly contracted all day. Doesn’t sound like much. Across 8 hours a day for 6 months, it adds up.
Position the lumbar support at L3-L4, roughly the level of your belt buckle, not where the chair padding makes it convenient. If I’m being honest, most people (including me) set this once and never touch it again. That was approximately wrong from the start for anyone with a larger frame. Drop it 1-2 inches lower than you think it should be and see what happens over a week.
The action: Re-seat the lumbar pad at belt-buckle height. If adjustable, run a week at a lower position than you’re used to. If the support is a separate cushion you added, try shifting it down and forward off the backrest slightly.
3. Monitor Height Recalibration: Run the Actual Math for Your Frame
The standard advice is “top of screen at eye level.” Fine. But eye level for someone sitting in a chair with 6 months of compressed foam at 6’2″ is several inches higher than the diagram in every generic guide shows. And if you’ve been compensating for a sinking chair by raising your monitor, there’s a real chance you’ve overcorrected to an upward gaze, which is actually worse than looking slightly down.
Run the actual numbers. Seated eye height for a taller person is roughly 44-46 inches from the floor. If your monitor top is at 36 inches, you’re looking down at about a 10-degree angle all day, which puts real load on the cervical spine through sustained neck flexion. If your monitor top is above your eye level, you’re hyperextending the cervical extensors, which is its own problem.
Optimal: monitor top at or just below seated eye level, with a slight 5-10 degree downward gaze to the center of the screen. Measure this with a tape measure from the floor, not by feel. “Feels about right” has been quietly lying to you.
If you’re using a monitor arm, this is where that investment actually pays off. The accessories post covers monitor arms worth adding once you’ve fixed the fundamentals.
The action: Measure your seated eye height from the floor. Adjust monitor top to that number. If you recently raised it to try to fix neck pain, verify you haven’t gone past eye level.
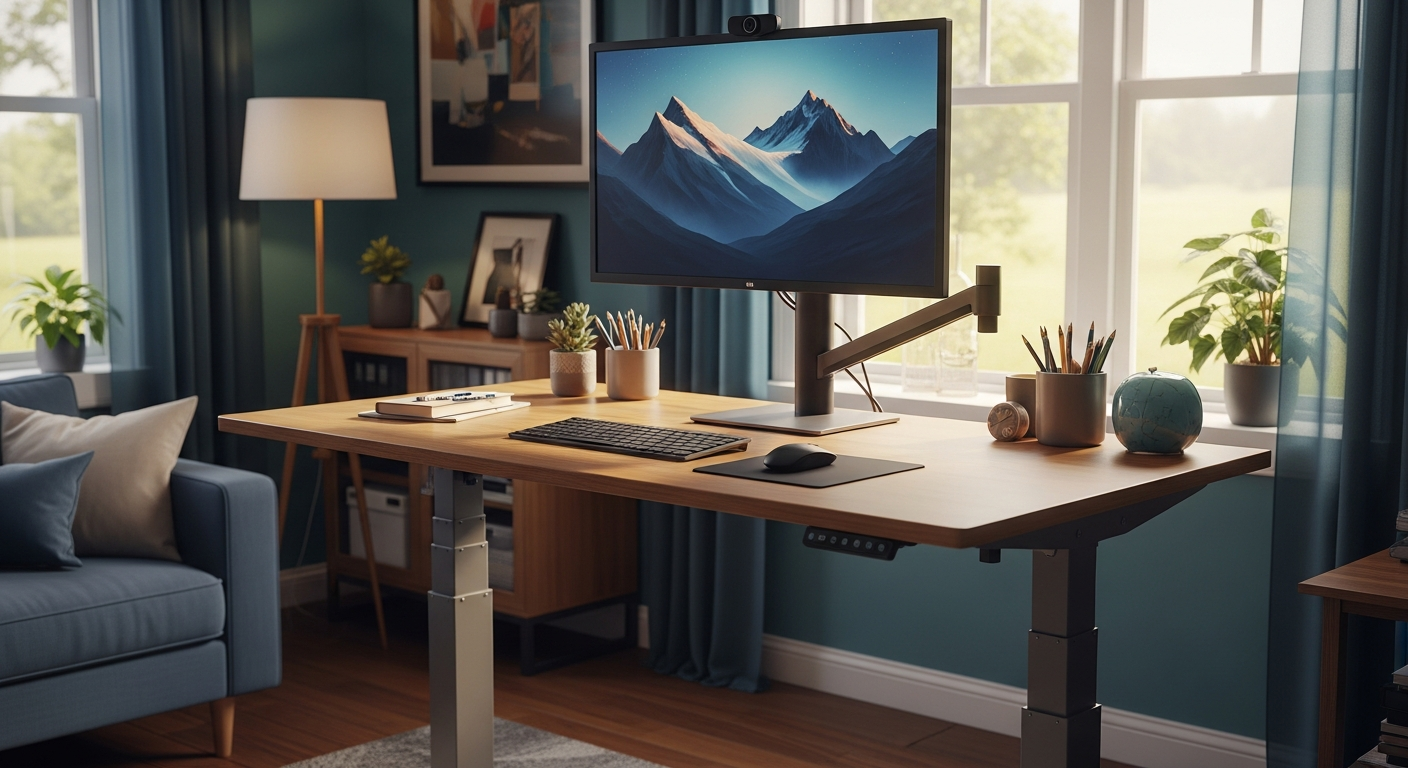
4. Standing Desk Height: Did You Set It Once and Forget It?
I own a standing desk. If I’m being honest, I don’t use it as much as I planned to when I bought it. But when I do stand, the height is set to my elbow height minus 2 inches, not the factory default, which would be about right for someone several inches shorter than me.
Here’s the formula: measure your elbow height from the floor when standing with arms relaxed at your sides. Subtract 1-2 inches. For someone 6’2″, that’s roughly 43-44 inches. The generic “standard desk height” of 28-30 inches is calibrated for someone around 5’8″. If you set your desk once and never touched it, you’ve probably been working at a surface that has your shoulders slightly elevated all day.
There’s a second thing worth auditing here: if you’ve basically stopped using the standing mode, ask yourself why. “Comfort of sitting” and “discomfort of standing” are not the same answer. Sore feet or lower back pain when standing is a signal your mat, your footwear, or your desk height needs adjustment. Not just a personal preference to ignore. Check out the standing desk options built for bigger frames if you’re shopping for an upgrade that runs the numbers right.
The action: Recalculate standing height from your elbow measurement. If you’ve stopped using the standing mode, figure out whether that’s preference or pain-avoidance.
5. Are Armrests Actually Helping, or Are They Just in the Way?
Standard office chair armrests are designed for shoulder widths in the 16-18 inch range. If you’re broader than that (and a lot of bigger guys are), the widest armrest position on most chairs still requires a slight inward shoulder hunch to reach them. You’ve been doing that hunch for 6 months without thinking about it.
Sustained shoulder loading from slightly-too-narrow armrests is a direct path to upper trap tightness and rotator cuff irritation. The audit: arms at elbow height on the rests. Are your shoulders neutral, meaning not raised even slightly, not drooping? If you’re shrugging to reach them, the armrests are making things worse, not better.
Some chairs let you swing the armrests out wider. Most don’t. If yours don’t reach neutral, try removing them entirely for a week and see if your shoulders decompress. Not elegant. But better than 6 more months of micro-loading.
The action: Check shoulder position with arms resting on armrests. If neutral isn’t possible, adjust to widest position or remove them and assess. Flag this for your next chair purchase. Armrest width range is a spec most reviews ignore.
6. Keyboard and Wrist Position: The Creep You Stopped Noticing
Wrist extension at the keyboard, meaning wrists bent upward toward the screen while typing, is the kind of thing that happens so gradually you don’t notice until you’re already in early RSI territory. The mechanism is usually a keyboard that started at a comfortable height and drifted toward you over time, or a desk that was never at the right height to begin with.
For bigger hands and thicker wrists, wrist extension is both more common (the keyboard feels more natural to pull in) and more damaging (more mass running through the wrist at the wrong angle). Have someone look at your wrist from the side while you type naturally, without correcting your posture for the audit. Any upward angle from wrist to fingertip is a red flag.
Neutral wrist means wrist and forearm forming a roughly flat line. Nothing more complicated than that. The fix is usually re-zeroing keyboard distance first before adding any accessory. A wrist rest sometimes helps, but placing a wrist rest in front of an already-incorrectly-positioned keyboard just adds a prop to a wrong setup.
The action: Check wrist angle while typing without correcting. If there’s any upward angle, move the keyboard farther away first. Consider a tenting keyboard if neutral wrist is hard to hold with a flat board and you have large hands.
7. Movement Breaks: Saying You’ll Take One Versus Actually Taking One
I’ll just say it: “I’ll take a break in a few minutes” has probably not been working. Not for most remote workers, and definitely not for me on deadline days.
The ergonomics consensus for seated breaks is every 30-45 minutes. For bigger guys, there’s a real argument for the low end of that range, not because you’re less healthy, but because sustained seated pressure on connective tissue, hip flexors, and lumbar discs accumulates faster under higher loads. A 2020 Chubb Insurance survey of 1,200 Americans who switched to remote work found that 41% reported new or increased back, neck, and shoulder pain after going WFH. Those aren’t people who forgot to stretch. They’re people who sat too long, compounded over months.
The fix isn’t inspiration. A recurring 25-minute timer that you actually have to dismiss. Put it on your phone, not your computer, so you can’t dismiss it from the keyboard without standing up. Scarily simple. Almost nobody does it consistently.
The action: Set a 25-30 minute recurring timer on your phone. Not your computer. Make standing up required to dismiss it. Run it for two weeks and see what happens to your back. If you want to turn those breaks into something, a 2-mile daily walking habit is the lowest-friction version of consistent movement I’ve found.
8. Eye-to-Screen Distance and Gaze Angle: The Over-Correction Problem
Screen distance: 20-28 inches, measured from your eyes to the screen surface. Gaze angle: 5-10 degrees below horizontal to the center of the screen, which means the top of the monitor should be at or just below eye level. That’s the target.
Where taller users often go wrong is over-correcting the “top of monitor at eye level” advice. They’ve been looking down, so they raise the monitor. And they raise it too far. Now they’re looking slightly upward. That shortens the cervical extensors, not the flexors, but the end result is the same: neck pain that seems like it appeared from nowhere.
Measure the distance. Measure the gaze angle with a level or a phone inclinometer if you want to be precise about it. “Feels about right” is the same judgment that got you here. If you added a monitor arm in the last 6 months and reset the height to try to fix something, verify you hit the target and didn’t just move from one wrong to a different wrong.
The action: Tape measure from eyes to screen. Phone inclinometer on gaze angle. If you recently adjusted and added neck pain rather than removing it, drop the monitor arm height 1-2 inches.
9. Seat Depth and Leg Clearance: The One Nobody Talks About
When you sit fully back against the backrest, there should be 2-3 inches of clearance between the back of your knees and the front edge of the seat pan. That gap is what keeps the chair from cutting into the popliteal area (the back of the knee), which is where the numb, aching “my legs fell asleep again” feeling comes from during long sessions.
Standard seat pan depth is 16-18 inches. For longer-legged bigger guys, the right number is usually 18-20 inches. If your seat pan is too deep for your leg length, you’ll unconsciously shift forward on the seat to relieve the pressure behind your knees. Now you’re sitting forward of the backrest. Your lumbar support isn’t touching you. Your lower back is unsupported for every minute you’re in that chair. Your hip flexors are running the whole show.
I’ve experienced this exact thing on chairs before the Embody. Some of the creaking and popping failures were partly mechanical, sure, but the seating position was also wrong, and I didn’t know it at the time. Sat forward on a too-deep seat for years and thought that was just how chairs worked.
If the seat pan is too deep, a seat cushion placed at the back of the seat pan can simulate the right depth temporarily. Permanently, you want a chair with adjustable seat depth, which is a spec that matters far more for bigger and taller people than most reviews acknowledge.
The action: Sit fully back. Check the clearance behind your knees. If you can’t fit 2-3 fingers, the seat is too deep. A firm cushion at the back edge is a short-term fix; adjustable seat depth is what to look for in the next chair.
What to Do When This WFH Ergonomics Checklist Flags Multiple Problems
If 3 or more of those checks came back as fails, you’re not in unusual territory. Most WFH setups drift into multiple issues simultaneously, and they often reinforce each other. Compressed foam causes a forward pelvic tilt which misaligns the lumbar support, which causes back pain, which changes how you hold your shoulders, which loads the neck. It’s one chain, not nine separate problems.
Start with foam compression and seat depth, because those are the foundation everything else sits on. Fix those first, then re-audit the rest. A lot of the downstream issues may self-correct.
For items 1-2 (chair foam and seat depth), if your chair is budget-tier and over 2 years old with daily full-weight use, you may need an upgrade before the adjustments matter. The office chairs for big guys roundup covers what to look for and what I’d actually recommend at different price points.
For monitor arms, footrests, keyboard trays, and the accessories side of the equation, the WFH ergonomics accessories post covers the gap between “I fixed my fundamentals” and “now I want to optimize.”
If you find 1-2 issues, you probably just need to adjust what you already own. The checklist items above each have a concrete action that doesn’t require buying anything.
For standing desk height or an upgrade that runs the math right for a taller frame, the standing desks for bigger guys guide has the options worth considering.
The real pro tip from this post is to do the audit now, before your body forces the issue. Back pain that’s been building for 6 months doesn’t give you a warning before it becomes the kind of thing a doctor has to name. 🔎
Optional Upgrades If the Audit Flags Hardware Problems
Two things worth knowing about if the audit reveals your seat foam is done or your seat depth isn’t adjustable:
A high-density replacement seat cushion can extend the usable life of an otherwise-good chair. Look for memory foam with a density rating above 4 lb/cu ft for any bigger-body application. Lower density compresses fast and you’re right back where you started. Search for something in the high-density office chair seat cushion category on Amazon and check the density spec before buying, not just the weight rating.
If your armrests are the problem and you want something adjustable, a separate aftermarket adjustable armrest set can sometimes attach to chair backs and give you the lateral range you’re missing. Not universal, so check compatibility. But it’s a cheaper path than a new chair if the rest of your setup is otherwise solid.
Sources
- Chubb Insurance Survey (July 2020): Americans Working from Home During COVID-19. 41% of Americans reported new or increased back, neck, and shoulder pain after going WFH; survey of 1,200 Americans ages 20-65.
- UT Southwestern Medical Center: Work From Home and Back/Neck Pain. Back and neck pain as a major downside of remote work; ergonomic guidance for telecommuters.
- Mackinaw Surgery Center: WFH and Sacroiliac Pain. Sacroiliac joint pain causes and the role of non-ergonomic work setups in chronic low-back issues.
- Johns Hopkins Medicine: Addressing Neck and Back Pain When Working From Home. Sustained awkward posture and chronic pain development.
- Physical Therapy & Sports Medicine Centers: WFH Ergonomics Checklist. Baseline measurement standards (chair, desk, monitor, keyboard/mouse, footrest).
- WorkCare: Office Ergonomics Self-Assessment Checklist. Three-zone breakdown with seated and standing desk height guidance.
Your Turn
How did the audit go? Did you find something that’s been quietly making your back angry for months, or does your setup actually hold up? Drop it in the comments, especially if you’ve found a fix for something that isn’t on this list. Big guys running their own setups tend to figure out workarounds the standard guides never mention, and that stuff is worth sharing. 👇
If this was useful, sharing it with a WFH friend who’s been vaguely complaining about their back lately is genuinely appreciated. It’s the kind of post that’s most useful to someone who doesn’t know they need it yet.