
Most people think the biggest risk with a password manager is a hacker breaking in. They’re wrong. The real risk is the company itself: going out of business, getting breached, raising prices 40% overnight, or quietly changing their privacy policy. LastPass exfiltrated 25 million encrypted vaults in 2022. Authy leaked phone numbers for 33 million accounts in 2024. These weren’t edge cases. They were the two biggest names in the space.
Vaultwarden is a self-hosted password manager, a Rust-based reimplementation of the Bitwarden server that runs in a single Docker container, uses about 50MB of RAM, and is compatible with every official Bitwarden client. It gives you a way out of that vendor dependency. You control the data. No vendor, no subscription, no single point of failure you can’t see.
The catch? You become your own ops team. That’s the honest trade this guide walks through before giving you the full vaultwarden self hosted password manager setup: Docker Compose, Caddy for automatic HTTPS, a real backup strategy, and a clear answer to “what actually happens if my server goes down.”
Is a Self-Hosted Password Manager Worth the Trouble?
I’m going to say something most Vaultwarden guides won’t: for a lot of people, the math says no.
Bitwarden Premium is $19.80 a year ($1.65/month billed annually). Not $20 a month. A year. It’s audited by security firm Cure53, SOC 2 Type II certified, and has a better public security track record than any other major password manager. Zero-knowledge encryption means even Bitwarden can’t read your passwords. You get TOTP authenticator support, file attachments, and Bitwarden Send. For under $20.
If you are NOT already running a VPS or home server for other things, spinning one up just for Vaultwarden costs you $5-6/month on DigitalOcean or Hetzner. That’s $60-72/year. You have now spent 3-4x more than Bitwarden Premium, AND you’ve taken on the maintenance burden of running a server, keeping Docker up to date, and managing your own backups.
That’s a bad trade.
Self-hosting Vaultwarden makes clear financial sense in exactly one scenario: you already have a VPS or home server running other Docker services, like Tailscale, n8n, Immich, or Home Assistant. In that case, adding Vaultwarden is a rounding error on your existing bill. The marginal cost is essentially zero. That’s where this guide is written from. If you run a DO droplet or a home server and you’re already in the Docker ecosystem, Vaultwarden is a genuinely excellent addition.
If I’m being honest, the ~$20/yr Bitwarden Premium argument is also a good call even for people who DO have a server. The time cost of maintaining a self-hosted service is real, even when the money cost is near-zero. If you don’t enjoy tinkering with servers, just pay Bitwarden. There’s no shame in it. For more on how to think about this decision, the post on what I actually run in my own stack covers the mental model I use.
What Vaultwarden Actually Is (vs. the Official Bitwarden Server)
Vaultwarden is not Bitwarden’s official self-hosted password manager offering. It’s a community-built alternative, and that distinction matters. Bitwarden’s official self-hosted server is a beast. It requires Microsoft SQL Server, runs as a suite of separate Docker containers, and wants about 2GB of RAM minimum just to breathe. It’s built for enterprise deployments, not for a single person’s VPS.
Vaultwarden (formerly called Bitwarden_rs) is an unofficial, community-built Rust reimplementation of the Bitwarden server API. One container. SQLite instead of MSSQL. Under 50MB of RAM at idle. And because it speaks the same API protocol, every official Bitwarden client works with it: the browser extensions, the iOS and Android apps, the desktop apps. You don’t install a “Vaultwarden app.” You install the standard Bitwarden app and point it at your own server.
One thing to be clear about: Vaultwarden is not audited the way the official Bitwarden server is. It’s a community project, maintained by independent contributors, and the encryption happens client-side using the same model as Bitwarden. The Vaultwarden GitHub repo is active and well-maintained, but if a third-party audit is non-negotiable for your threat model, official Bitwarden is the call.
For most home-labbers who are already comfortable running unaudited open-source Docker images? This is fine.
What You Need Before You Start
No jargon burial here. Every item spelled out.
A server with Docker installed. This is a VPS (like a DigitalOcean Droplet or Hetzner Cloud instance) or a physical home server running Linux. If you don’t have one yet, the home server setup guide walks through building one for under $200.
A domain name. You need this. The Bitwarden clients require HTTPS to connect, which means you need a valid SSL certificate, which means you need a domain that Caddy can issue a Let’s Encrypt cert for. Namecheap and Porkbun both have .com domains for $10-12/year. If you already have a domain, you can just create a subdomain like vault.yourdomain.com.
A DNS A record pointing to your server. Log into your domain registrar, find the DNS settings, and add an A record: hostname vault (or whatever subdomain you want), value = your server’s public IP address. If you’ve never done this before: an A record is just the internet’s way of saying “when someone looks up vault.yourdomain.com, send them to this IP address.” DNS changes take anywhere from a few minutes to a few hours to propagate.
Ports 80 and 443 open on your server’s firewall. On DigitalOcean, this is the cloud firewall in the Droplet dashboard, not a local ufw rule. Caddy needs port 80 for the Let’s Encrypt HTTP challenge and port 443 for HTTPS traffic.
Docker and Docker Compose installed. If you’re running Ubuntu 22.04+, the Docker install docs get you there in about 5 minutes.
Time. Budget 30-60 minutes the first time. Once it’s running, you won’t touch it for months.
Why Caddy, Not Nginx
Every guide picks one and proceeds. Almost none explain why.
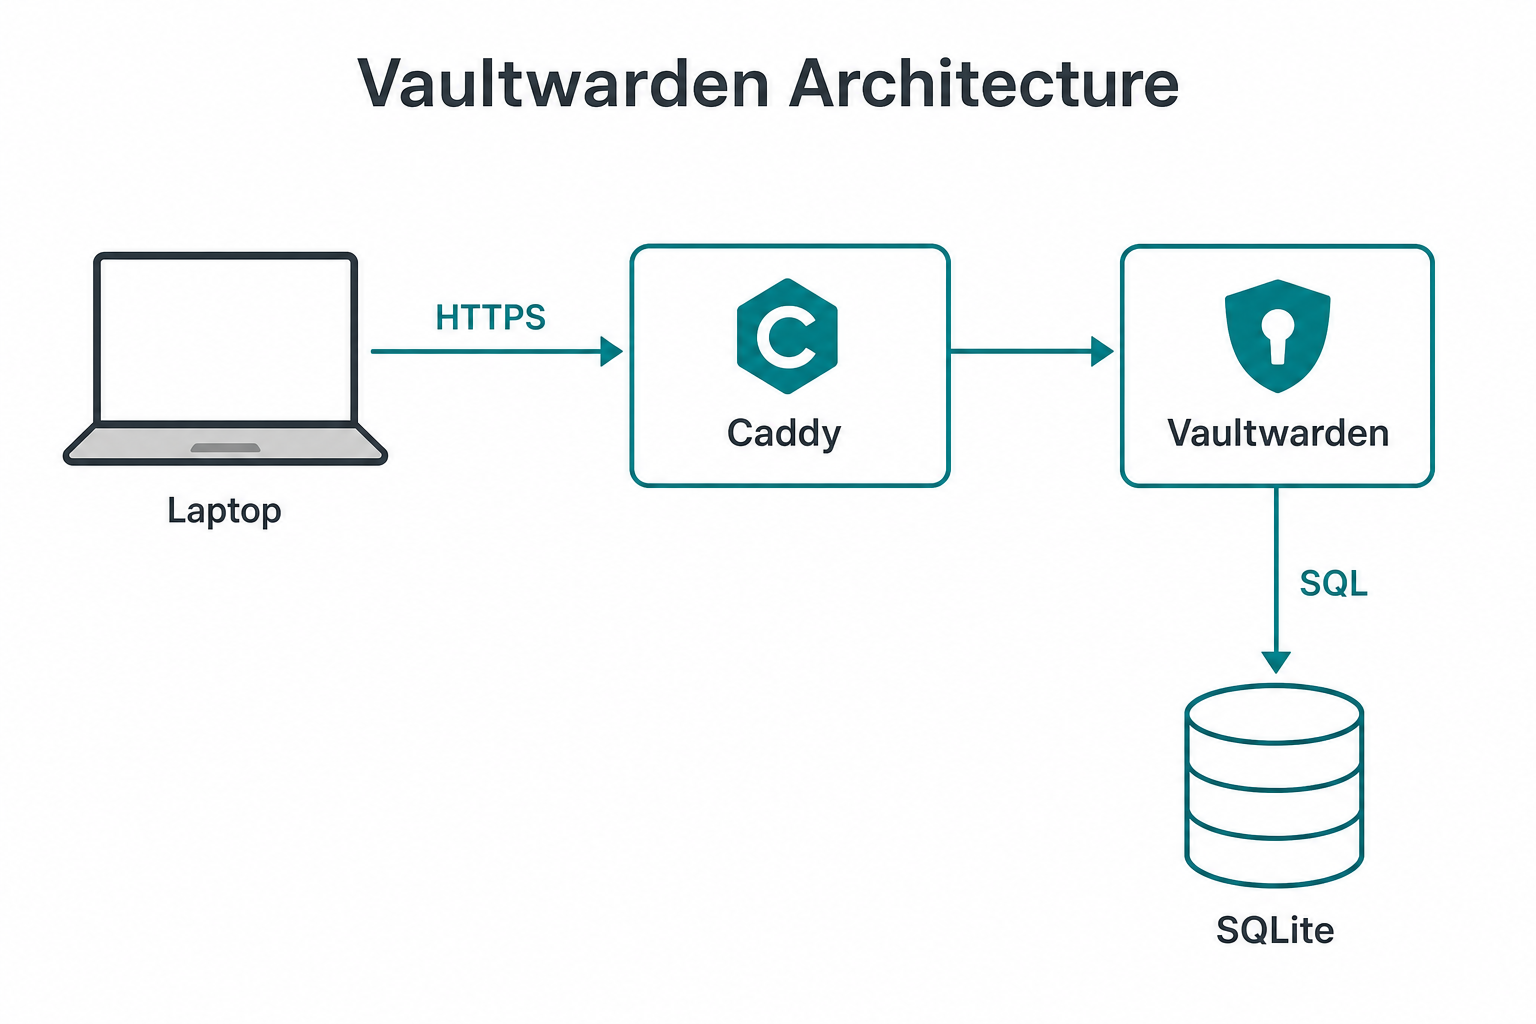
Caddy earns its place in a beginner-first tutorial for one reason: automatic HTTPS with zero configuration. You write one line in the Caddyfile naming your domain, and Caddy requests a Let’s Encrypt certificate, installs it, and renews it automatically before it expires. That’s it.
With Nginx, you get to also install Certbot, write a separate Certbot config, test the renewal cron job, and debug why it failed six months later when the cert expired anyway. Nginx is excellent and gives you more control. But for a single-service reverse proxy on a personal server? Caddy is just less ceremony.
Caddy also handles WebSocket connections automatically via its reverse_proxy directive. Vaultwarden uses WebSockets for real-time sync. With Nginx you’d need to add explicit WebSocket upgrade headers. Caddy does it by default.
If you’re already running Nginx on your server and don’t want to add Caddy, the official Vaultwarden wiki has a Nginx proxy example that works fine. This guide uses Caddy.
The Setup: Docker Compose + Caddy
Step 1: Create the directory structure
SSH into your server and run:
mkdir -p ~/vaultwarden
cd ~/vaultwarden
Everything lives in this directory: the compose file, the Caddyfile, and the vw-data folder that Vaultwarden creates for your vault data.
Step 2: Generate an admin token
Before writing the compose file, generate a secure admin token. This is the password for the Vaultwarden admin panel. Run this on your server:
openssl rand -base64 48Copy that output. You’ll paste it into the compose file in a moment.
Step 3: Write the docker-compose.yml
Create ~/vaultwarden/docker-compose.yml with this content (replace the placeholders with your domain and the token you just generated):
services:
vaultwarden:
image: vaultwarden/server:latest
container_name: vaultwarden
restart: unless-stopped
volumes:
- ./vw-data:/data
environment:
DOMAIN: "https://vault.yourdomain.com"
SIGNUPS_ALLOWED: "true"
ADMIN_TOKEN: "paste-your-generated-token-here"
networks:
- vaultwarden
caddy:
image: caddy:latest
container_name: caddy
restart: unless-stopped
ports:
- "80:80"
- "443:443"
volumes:
- ./Caddyfile:/etc/caddy/Caddyfile
- caddy_data:/data
- caddy_config:/config
networks:
- vaultwarden
networks:
vaultwarden:
volumes:
caddy_data:
caddy_config:
A few things worth explaining in that config:
DOMAINmust be the fullhttps://URL. Vaultwarden uses this to build links in emails and for the admin panel. Get it wrong and things break in confusing ways.SIGNUPS_ALLOWED: "true"is set for now so you can create your first account. You’ll set this to"false"right after.ADMIN_TOKENgives access to/adminon your Vaultwarden instance. Treat it like a root password. Don’t use a simple word; theopensslcommand above gives you something strong.vw-datais where everything lives: the SQLite database, your attachments, the RSA keys used for authentication. Back this directory up religiously.
Step 4: Write the Caddyfile
Create ~/vaultwarden/Caddyfile:
vault.yourdomain.com {
encode zstd gzip
reverse_proxy vaultwarden:80 {
header_up X-Real-IP {remote_host}
}
}
That’s the whole file. Caddy reads the domain name, fetches a Let’s Encrypt certificate automatically, and proxies traffic to the Vaultwarden container on the internal vaultwarden Docker network. The header_up line passes the real client IP to Vaultwarden, which matters for Fail2Ban rate limiting later.
Step 5: Start the stack
docker compose up -dWait 30 seconds, then watch the logs to confirm Caddy got its certificate and Vaultwarden started:
docker compose logs -f vaultwardenYou should see something like Rocket has launched from http://0.0.0.0:80 in the Vaultwarden logs. Check Caddy’s logs too:
docker compose logs -f caddyIf Caddy throws an error about the certificate, double-check that your DNS A record has propagated (use nslookup vault.yourdomain.com from your local machine) and that ports 80 and 443 are open.
Step 6: Create your first account, then lock down signups
Open a browser, go to https://vault.yourdomain.com, and create your account. Use a strong master password. This is the one password you can’t store in Vaultwarden.
After your account is created, open docker-compose.yml, change SIGNUPS_ALLOWED to "false", and redeploy:
docker compose up -dYour server is now invitation-only. Nobody else can create an account on your instance.
What Happens When Your Server Goes Down?
No Vaultwarden guide answers this directly. That’s maddening, because it’s the first question anyone should ask before trusting their passwords to a server they run themselves.
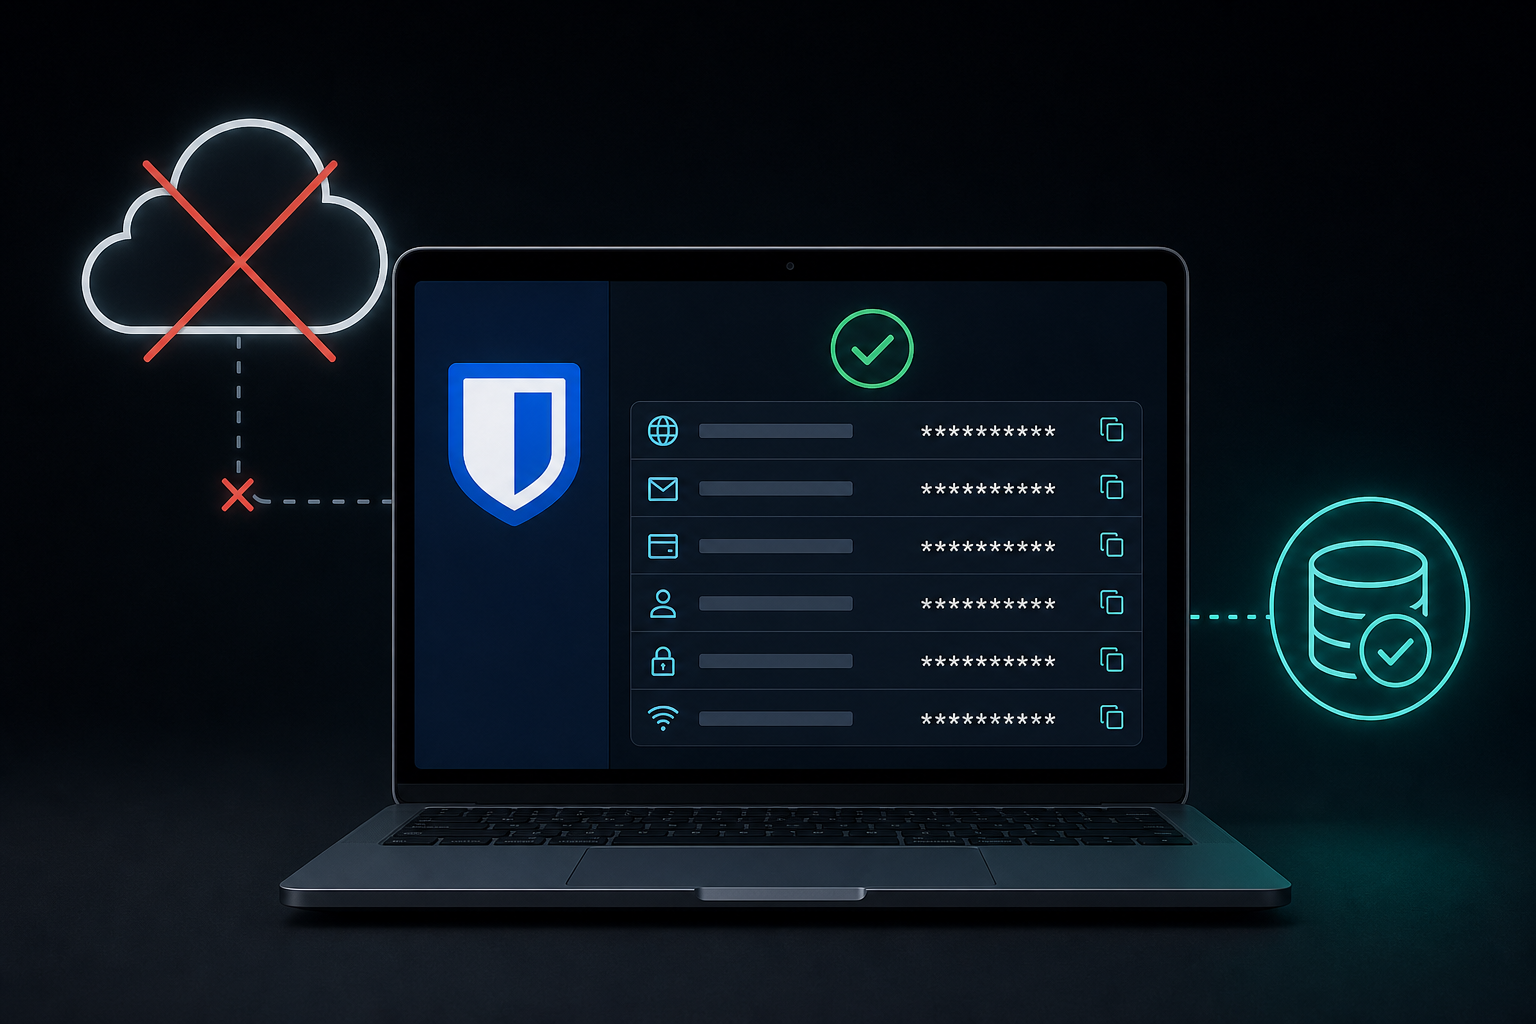
Here’s what actually happens. Bitwarden clients (the official apps that connect to your Vaultwarden instance) cache an encrypted copy of your vault locally. When your server goes offline, the apps switch to offline read mode. You can look up every password you already have. You can’t sync new ones or add entries until the server comes back.
For planned maintenance, sync all your devices before you take the server down. It takes 5 seconds.
For unplanned outages, as long as you’ve opened the Bitwarden app on a device within the last session, the cached vault is there. New devices that have never synced to your server are the exception: they have nothing cached. That’s the edge case worth planning for.
The break-glass recommendation: export your vault periodically (Settings > Export Vault in the Bitwarden web interface) and keep that export in an encrypted folder somewhere offline. You hope you never need it. You want to have it.
Backup Strategy That Won’t Leave You Crying
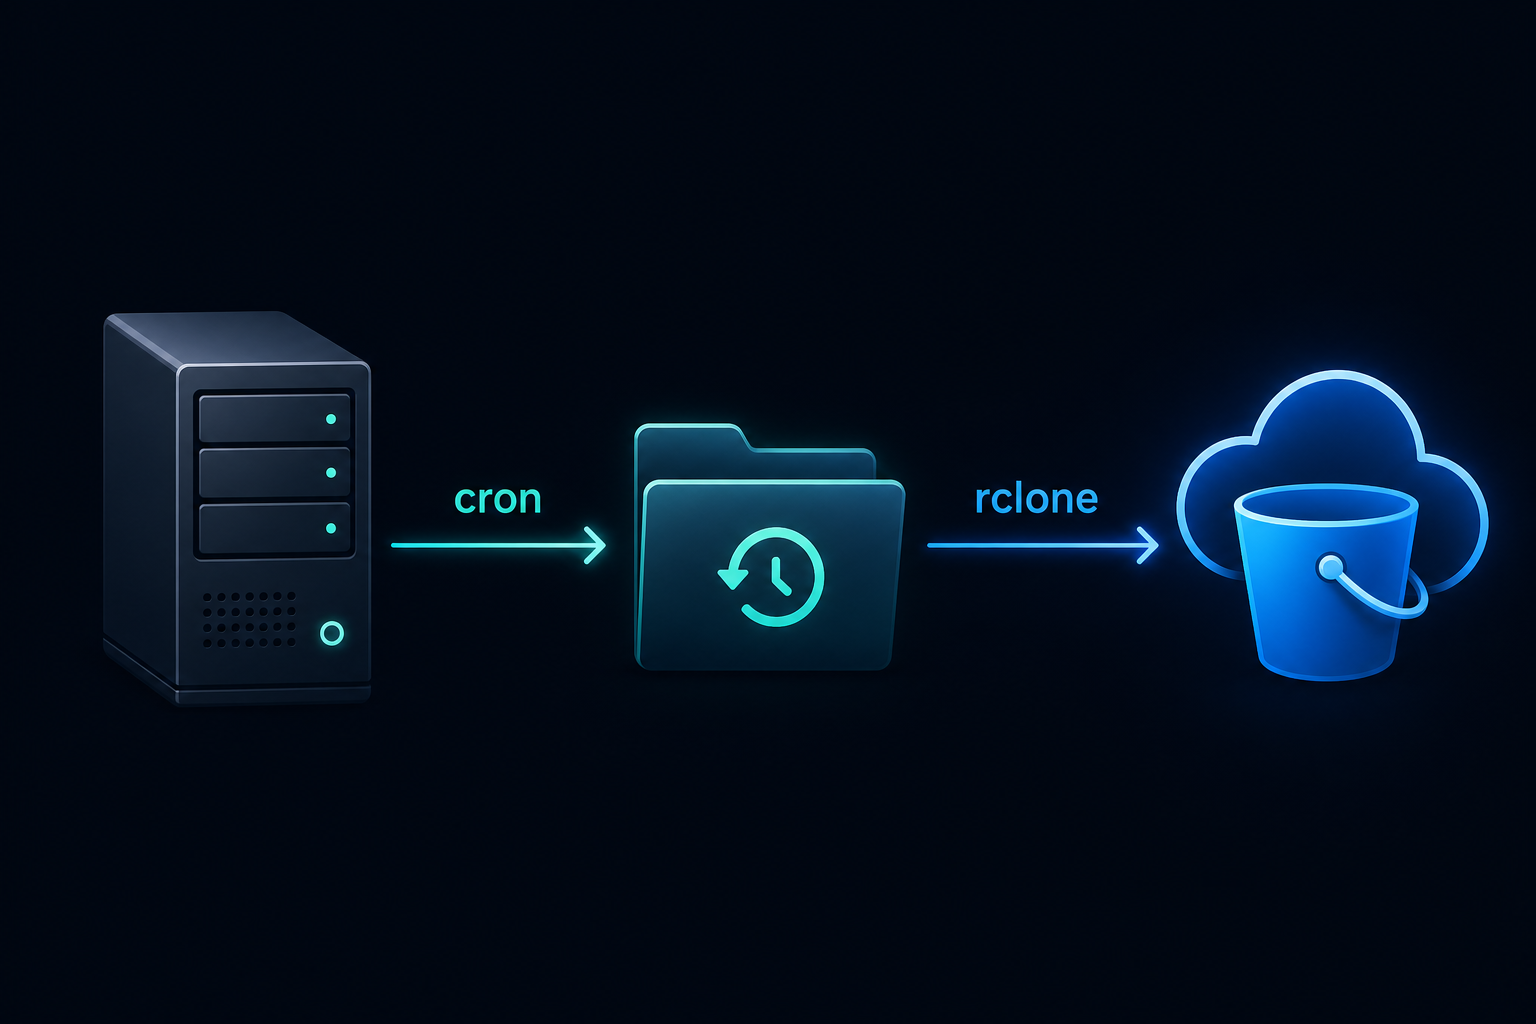
Local cron plus off-site sync. Two layers. Non-negotiable.
What to back up
The ./vw-data directory contains everything that matters:
db.sqlite3: the vault database with all your passwords and 2FA seedsattachments/: any files you’ve attached to vault entriesrsa_key.pemandrsa_key.pub.pem: the authentication signing keys (lose these and every client session breaks on restore)config.jsonsends/: Bitwarden Send files
Back up all of it. Not just the database.
The backup script
Create /root/vaultwarden-backup.sh:
#!/bin/bash
BACKUP_DIR="/root/vw-backups"
DATA_DIR="/root/vaultwarden/vw-data"
DATE=$(date +%Y%m%d-%H%M)
mkdir -p "$BACKUP_DIR"
sqlite3 "$DATA_DIR/db.sqlite3" ".backup '$BACKUP_DIR/vw-db-$DATE.sqlite3'"
cp -r "$DATA_DIR/attachments" "$BACKUP_DIR/attachments-$DATE" 2>/dev/null || true
cp "$DATA_DIR/rsa_key.pem" "$DATA_DIR/rsa_key.pub.pem" "$BACKUP_DIR/" 2>/dev/null || true
find "$BACKUP_DIR" -name 'vw-db-*.sqlite3' -mtime +14 -delete
Make it executable:
chmod +x /root/vaultwarden-backup.shA note on the SQLite .backup command: it’s not the same as cp db.sqlite3 backup.sqlite3. The .backup command is SQLite’s built-in hot backup mechanism. It handles WAL (Write-Ahead Log) mode correctly and produces a consistent snapshot even if Vaultwarden is actively writing. If you restore from a .backup file, delete any existing db.sqlite3-wal file first to avoid corruption from a stale WAL.
Add the cron job
crontab -eAdd this line (runs the backup at 3am daily):
0 3 * * * /root/vaultwarden-backup.sh >> /var/log/vw-backup.log 2>&1Off-site sync (strongly recommended)
A backup that lives on the same VPS as your Vaultwarden data is not really a backup. If the server gets destroyed (data center fire, you delete the wrong droplet, the VPS provider has an incident), the backup goes with it.
Set up rclone to sync your backup directory to Backblaze B2 or any S3-compatible storage. Backblaze B2’s free tier covers 10 GB. A Vaultwarden SQLite database is usually under 5 MB even with thousands of entries. You will not run out of space.
If Your Server Gets Compromised: The Actual Blast Radius
This is the question every self-hosting guide refuses to answer. Let me answer it.
An attacker who gets root access to your server gets these things: the encrypted vault database, your vault metadata (which domains you have entries for, timestamps), and any file attachments. What they do NOT get: your actual passwords in plaintext.
Vaultwarden uses the same zero-knowledge encryption model as Bitwarden. Vaults are encrypted client-side using AES-256, with a key derived from your master password using Argon2id. The server never sees your master password or your decrypted passwords. Ever. The encrypted blob in the database is useless without the master password to derive the decryption key.
For the attacker to get your passwords, they need to either brute-force your master password (Argon2id is specifically designed to make this scarily slow and expensive) or modify the running Vaultwarden binary to intercept future login requests. The second scenario requires ongoing server access, not just a one-time breach.
This does NOT mean a server compromise is fine. The metadata exposure is real. An attacker can see which domains you have credentials for, even if they can’t read the credentials. And a compromised server is, by definition, an untrustworthy server.
Treat a confirmed server compromise as a full reset. Change every password in the vault, starting with your most critical accounts (email, banking, work). Rotate your master password. Rebuild the server from scratch. Don’t try to “clean up” a compromised system and keep running it.
If I’m being honest, this is the strongest argument for Bitwarden’s hosted service: their security operations team is specifically incentivized to keep their infrastructure clean. Your VPS is one misconfigured SSH daemon away from being somebody’s crypto miner. A self-hosted password manager is only as secure as the server it runs on. Know your threat model.
Hardening Checklist Before You Call It Done
- Disable open signups. You already did this in Step 6 above. Confirm
SIGNUPS_ALLOWED: "false"is in your compose file. - Use a strong admin token. The
openssl rand -base64 48output is 64 characters of entropy. Don’t replace it with a word. Consider restricting/adminto your home IP at the firewall level. - Enable 2FA on every account. Do this immediately. Vaultwarden supports TOTP out of the box. Use a second device’s authenticator app, not the vault itself (you can’t log in to get the TOTP code if you can’t log in).
- Keep Vaultwarden updated. Docker makes this easy:
docker compose pull
docker compose up -d
- Set up Fail2Ban. If your Vaultwarden port is exposed to the internet, brute-force login attempts will happen. Fail2Ban watches the logs and bans IPs that fail authentication too many times. The deployn.de guide linked in the sources section has a working Fail2Ban configuration.
- Restrict SSH. On DigitalOcean, use the cloud firewall to restrict port 22 to your home IP. Do not leave SSH open to the world.
Bonus: run it on Tailscale instead. If the idea of exposing your password manager to the public internet makes you uncomfortable, that’s a reasonable instinct. You can run Vaultwarden accessible only via your Tailscale network, which means it’s never reachable from the open internet at all. No public port 443, no need to manage Fail2Ban as aggressively. The tradeoff is that you need Tailscale running on every device you use to access the vault.
Is This the Same Docker Workflow as Everything Else I’m Running?
Yes. That’s the whole point. 🖥️
If you followed any of the other self-hosting guides on this blog (the n8n automation setup, the Tailscale setup), this will feel familiar. Same docker compose up -d. Same vw-data volume pattern. Same Caddy reverse proxy. The mental model generalizes.
The real pro tip from this whole guide is that the most dangerous moment in any self-hosted setup is the weeks right after you get it running, when you feel done and stop thinking about backups. Set up the cron job before you close your SSH session. Verify it ran the next morning. Confirm an off-site copy exists before the end of the week. The backup is the setup.
After that? You’ll probably forget your Vaultwarden server exists. Which is exactly how it should be. 🔒
Sources
- Vaultwarden GitHub Repository (dani-garcia/vaultwarden): primary source for project status, version, and official documentation
- Vaultwarden Wiki: Backing up your vault: official backup procedure, SQLite .backup command, WAL file warning, what files to back up
- Vaultwarden Wiki: Proxy examples (Caddy configuration): official Caddy configuration, WebSocket handling, real IP forwarding
- Vaultwarden Docker Hub (vaultwarden/server): current Docker image reference
- Vaultwarden Wiki: Using Docker Compose: official Docker Compose configuration and environment variable reference
- Bitwarden Security Whitepaper: client-side AES-256 encryption, Argon2id KDF, zero-knowledge model
- Deployn: Self-Host Vaultwarden with Docker, Caddy, and Fail2Ban: Caddy-first setup reference, Fail2Ban configuration
- Technerdo: How to Self-Host Bitwarden in 2026: security framing, backup script reference, partial cost comparison
Join the Conversation
Running Vaultwarden on your own server? Hit a snag with the Caddy config? Found a better off-site backup solution? Drop it in the comments below. This guide covers the path that works for a DigitalOcean-based setup, but the community always knows angles I haven’t tried.
If this saved you some time or convinced you to just pay Bitwarden $19.80/yr instead, share it with the person in your life who is still using the same password for everything. You know who they are.